Google Calendar Integration
Google Calendar Integration on RnB Plugin
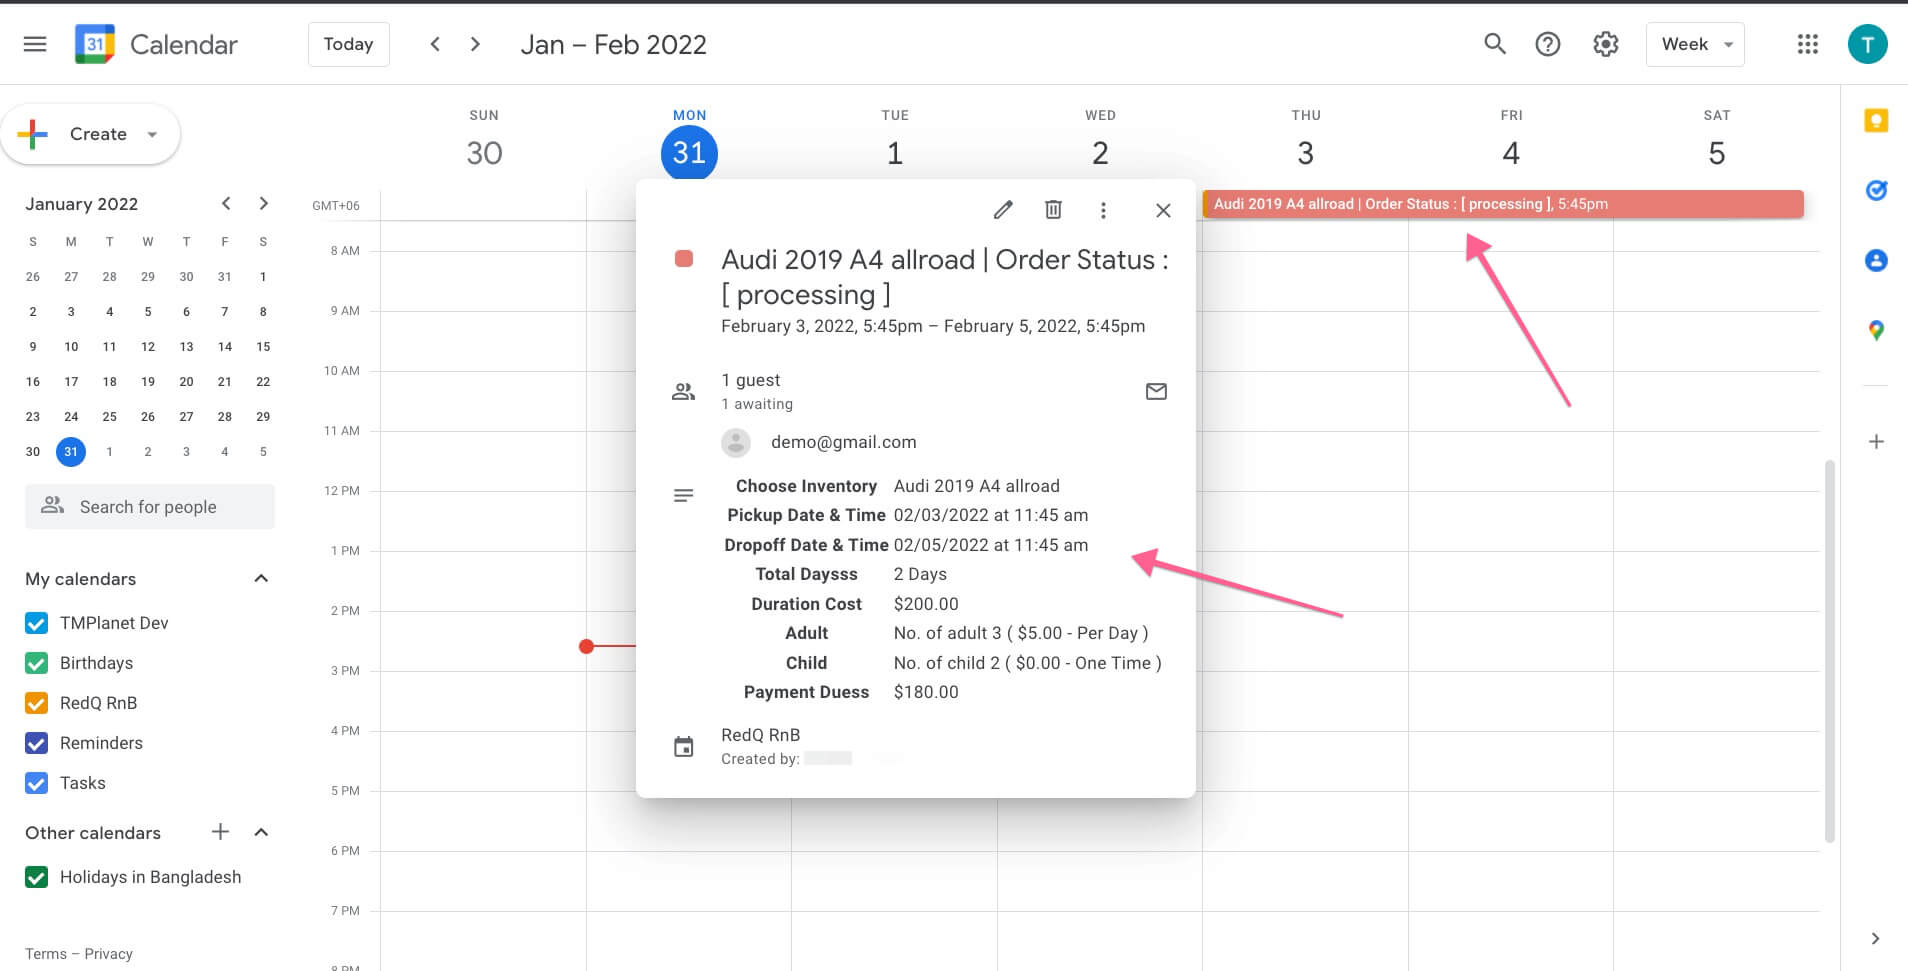
Google calendar integration only works on a live server. It's impossible to use or test the feature on your localhost. After deploying your site in the server, then connect google calendar integration. We recommend you to change to monthly displaying setting for showing all the product orders.
Step 1: Go To Google Developers Console
To use this integration, go to the Google Developers Console.
Step 2: Create Project On Google Calendar
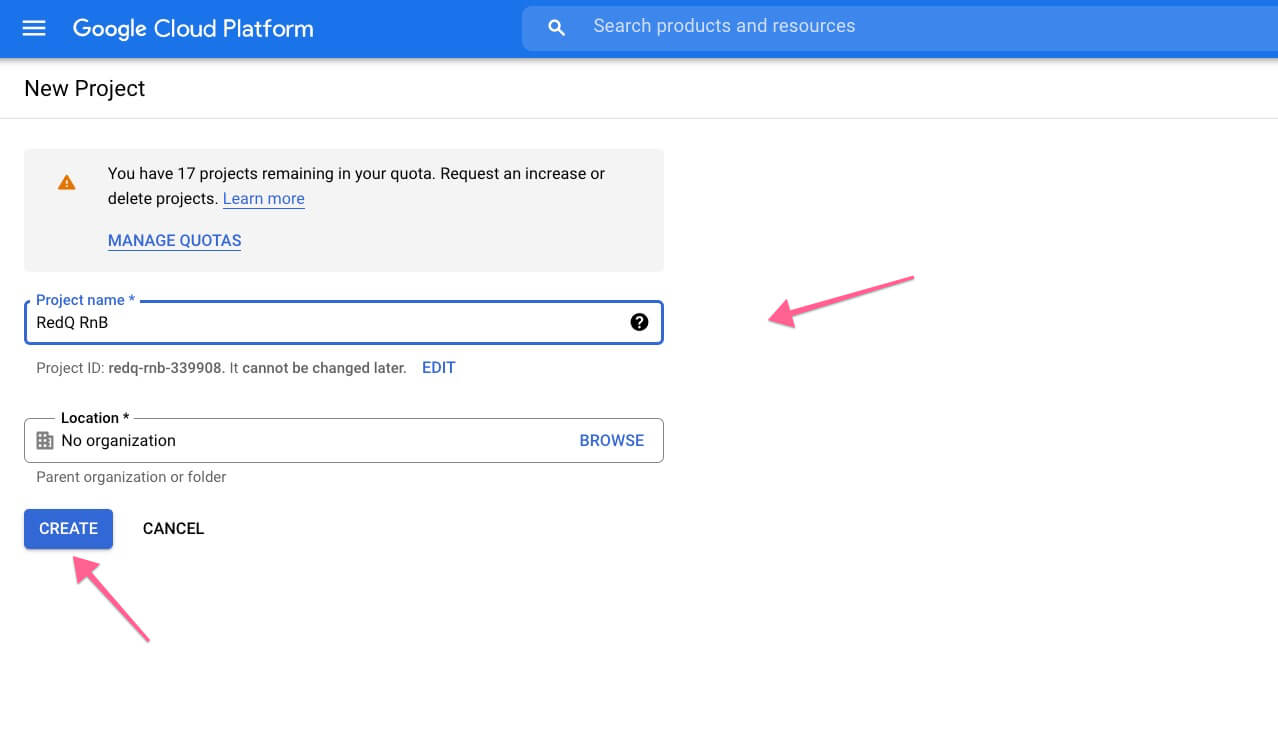
Go to: Projects > Create Project button. A popup should appear and ask for Project Name
and Project ID. Enter your preferences.
For example
After creating the project, you'll get the project name in the dashboard.
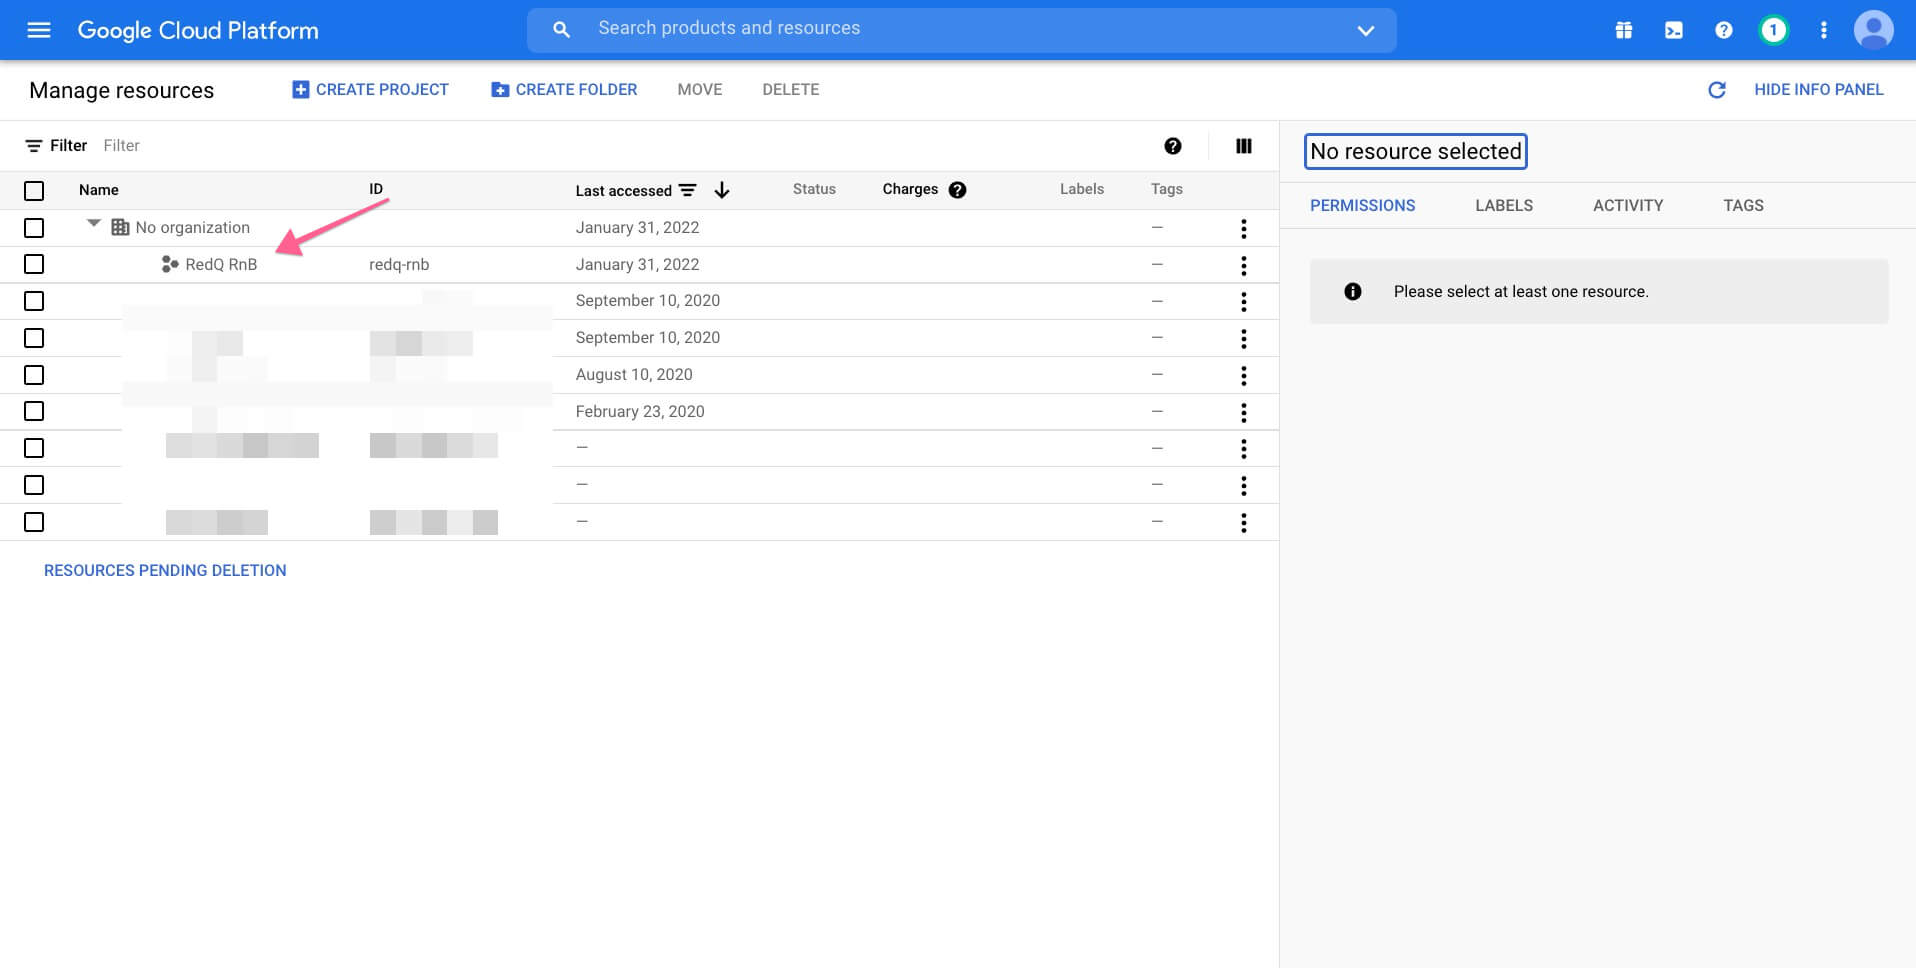
Then change the project dashboard to your created project.

Step 3: Enable the Calendar API
Then from the sidebar,
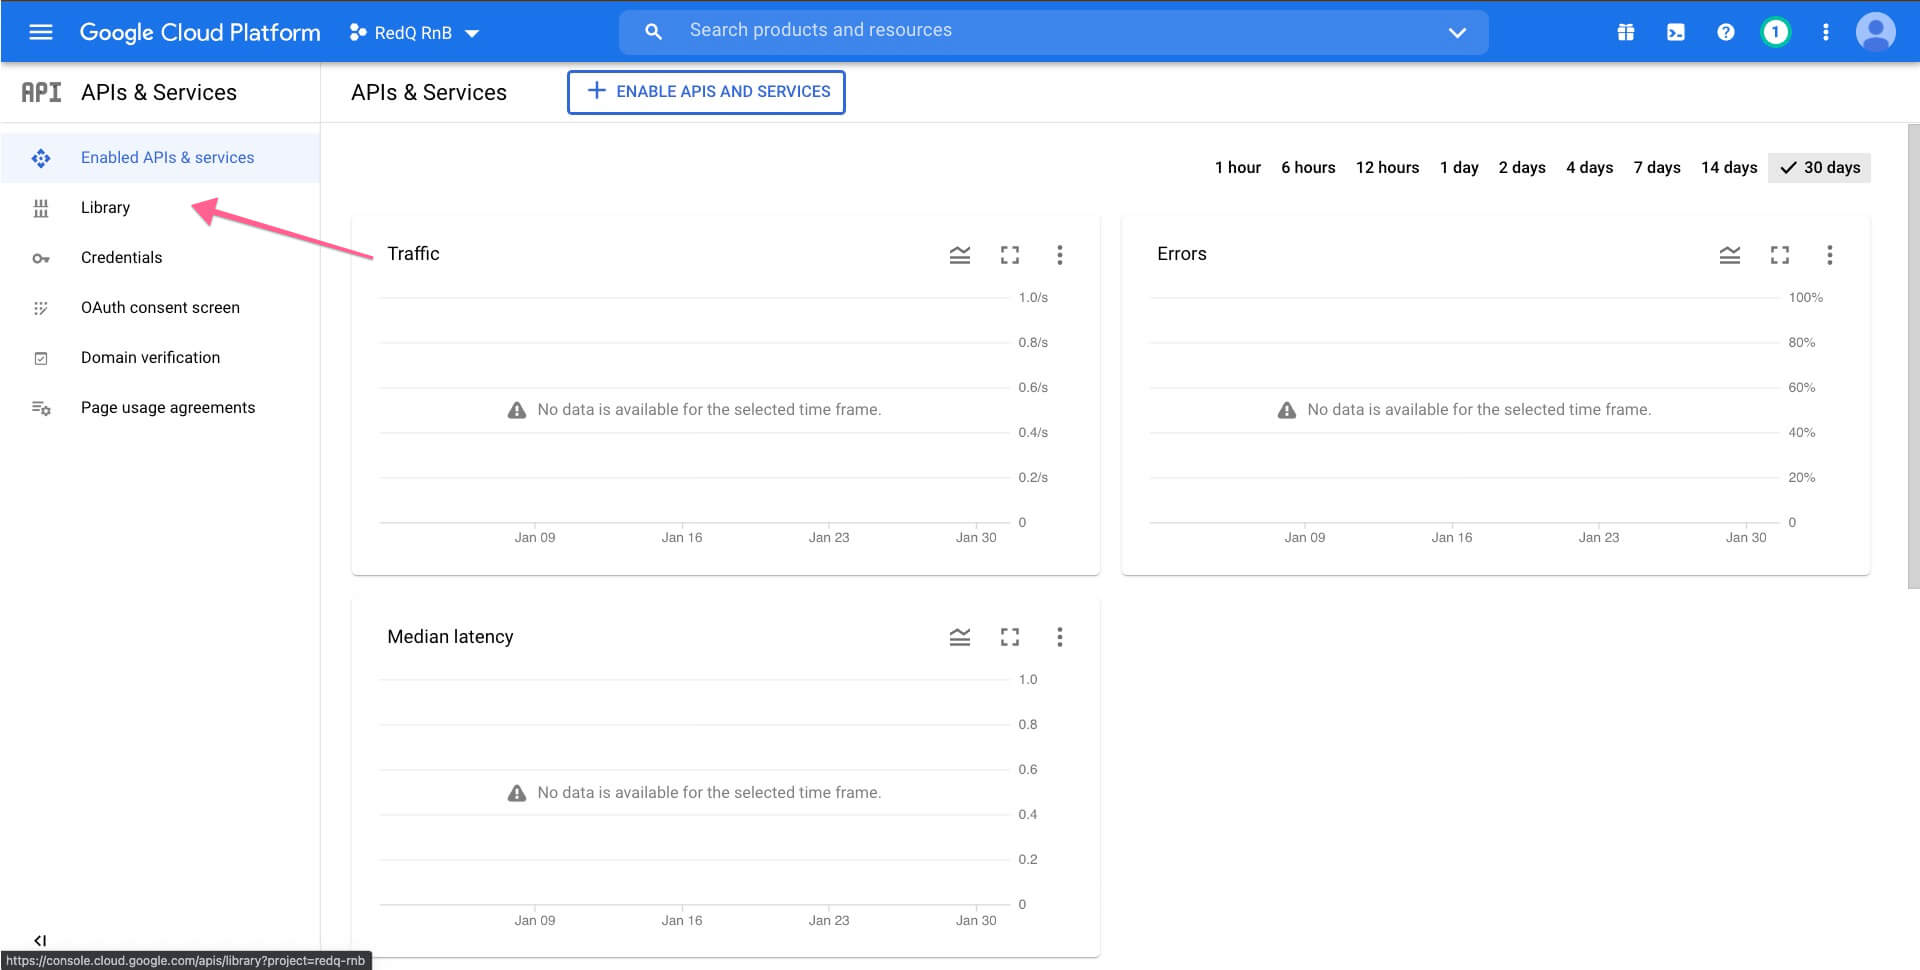
Go to API & Services -> Enable APIs & Service
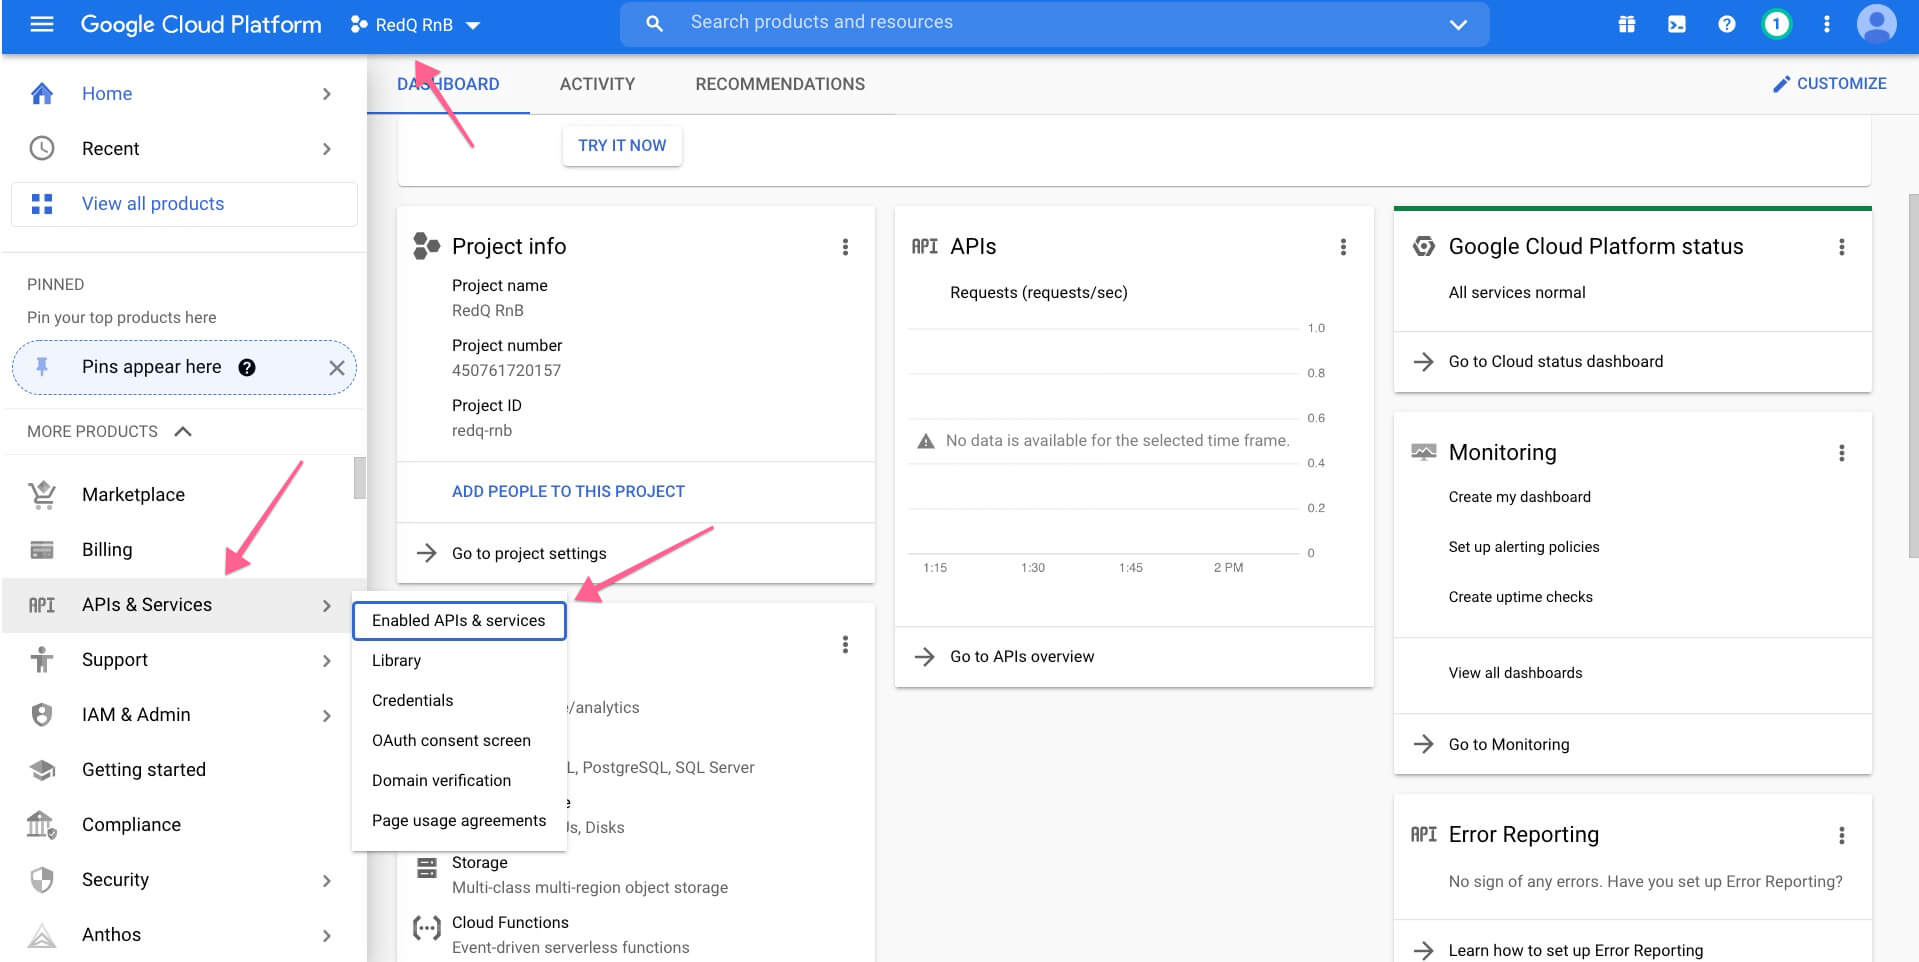
Then Go To Library and Enable Google Calendar API

Step 4: Create Calendar Credentials
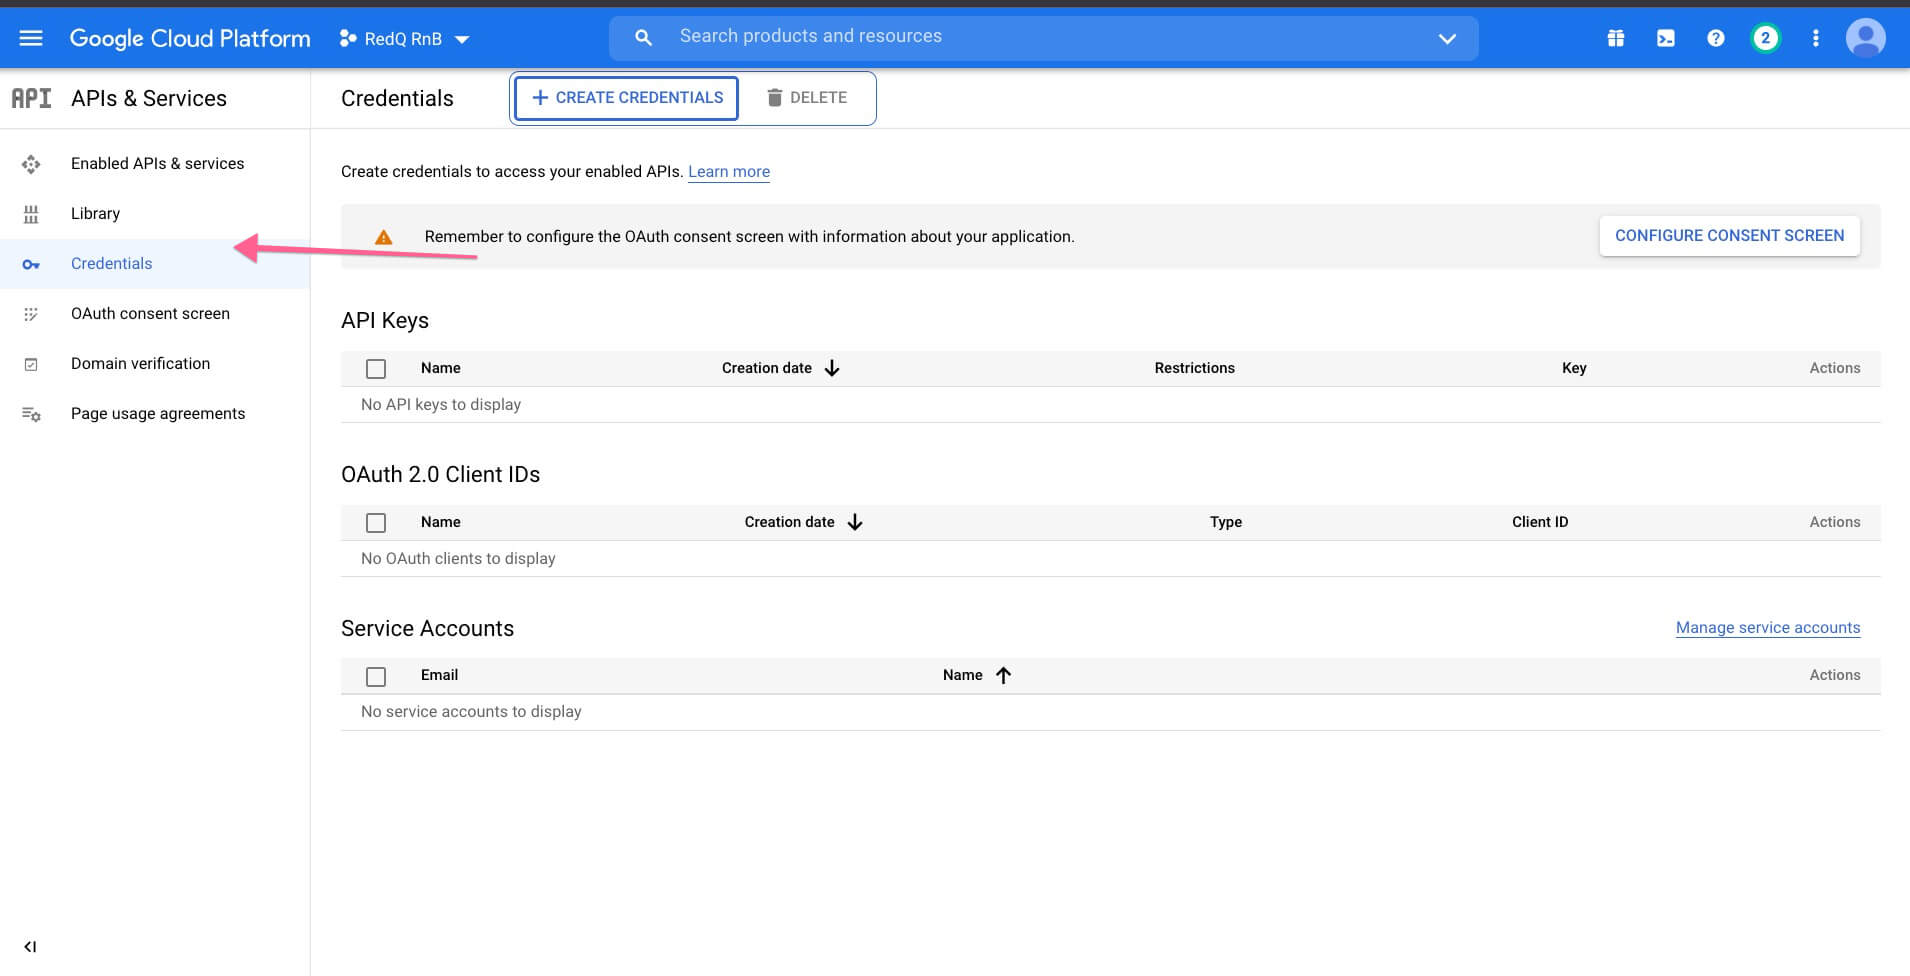
After enabling the API, you've to create the credentials for your API. To do that, go to,
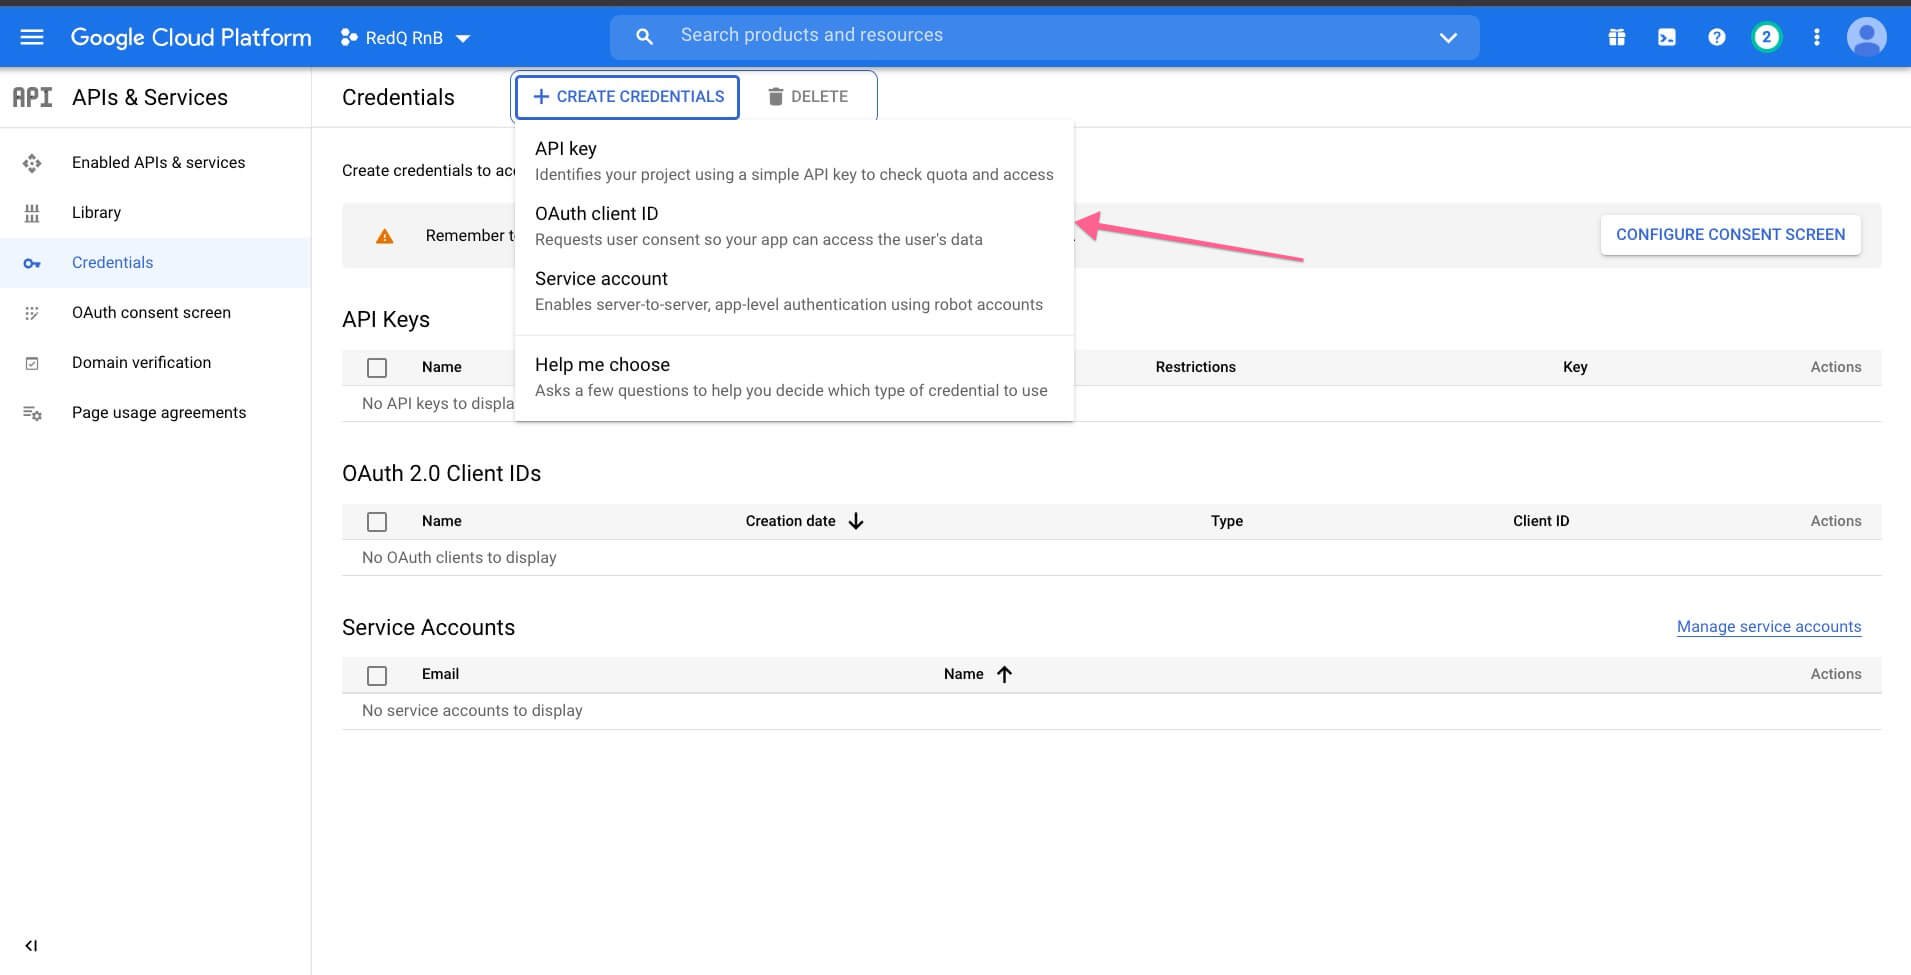
- APIs & Services -> Credentials -> Create Credentials -> oAuth Client ID
It'll ask for you to configure consent.
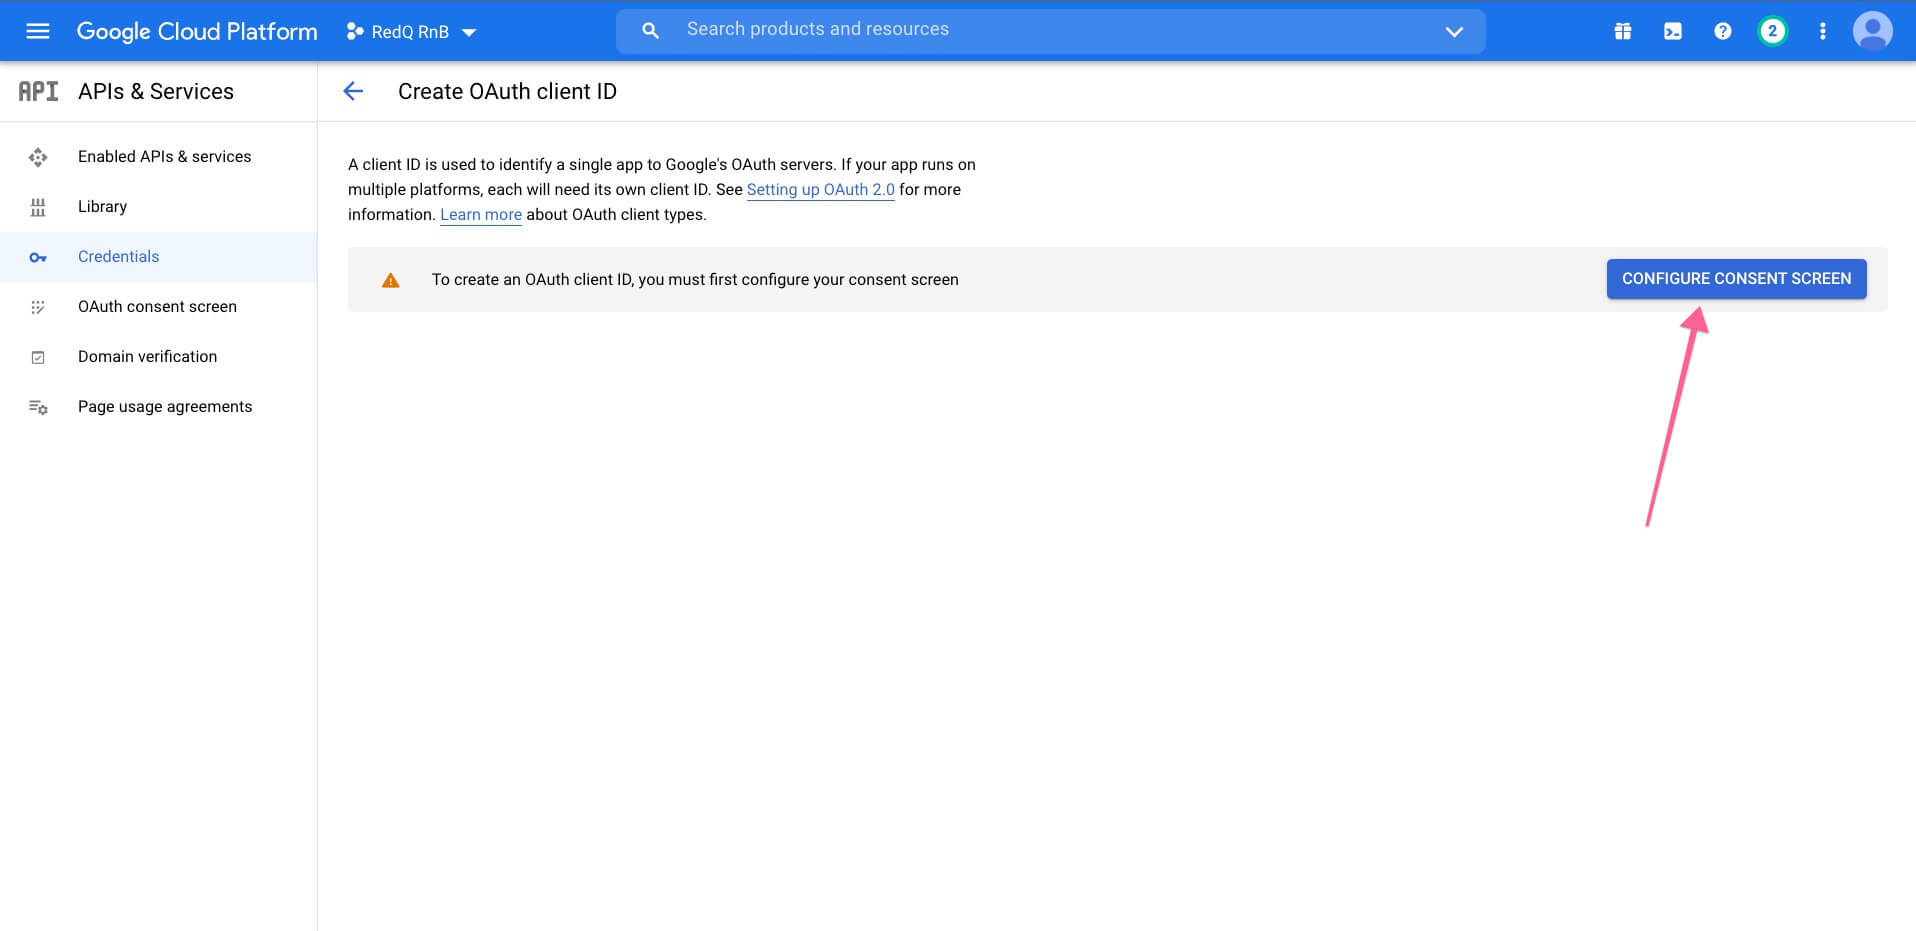
Use external
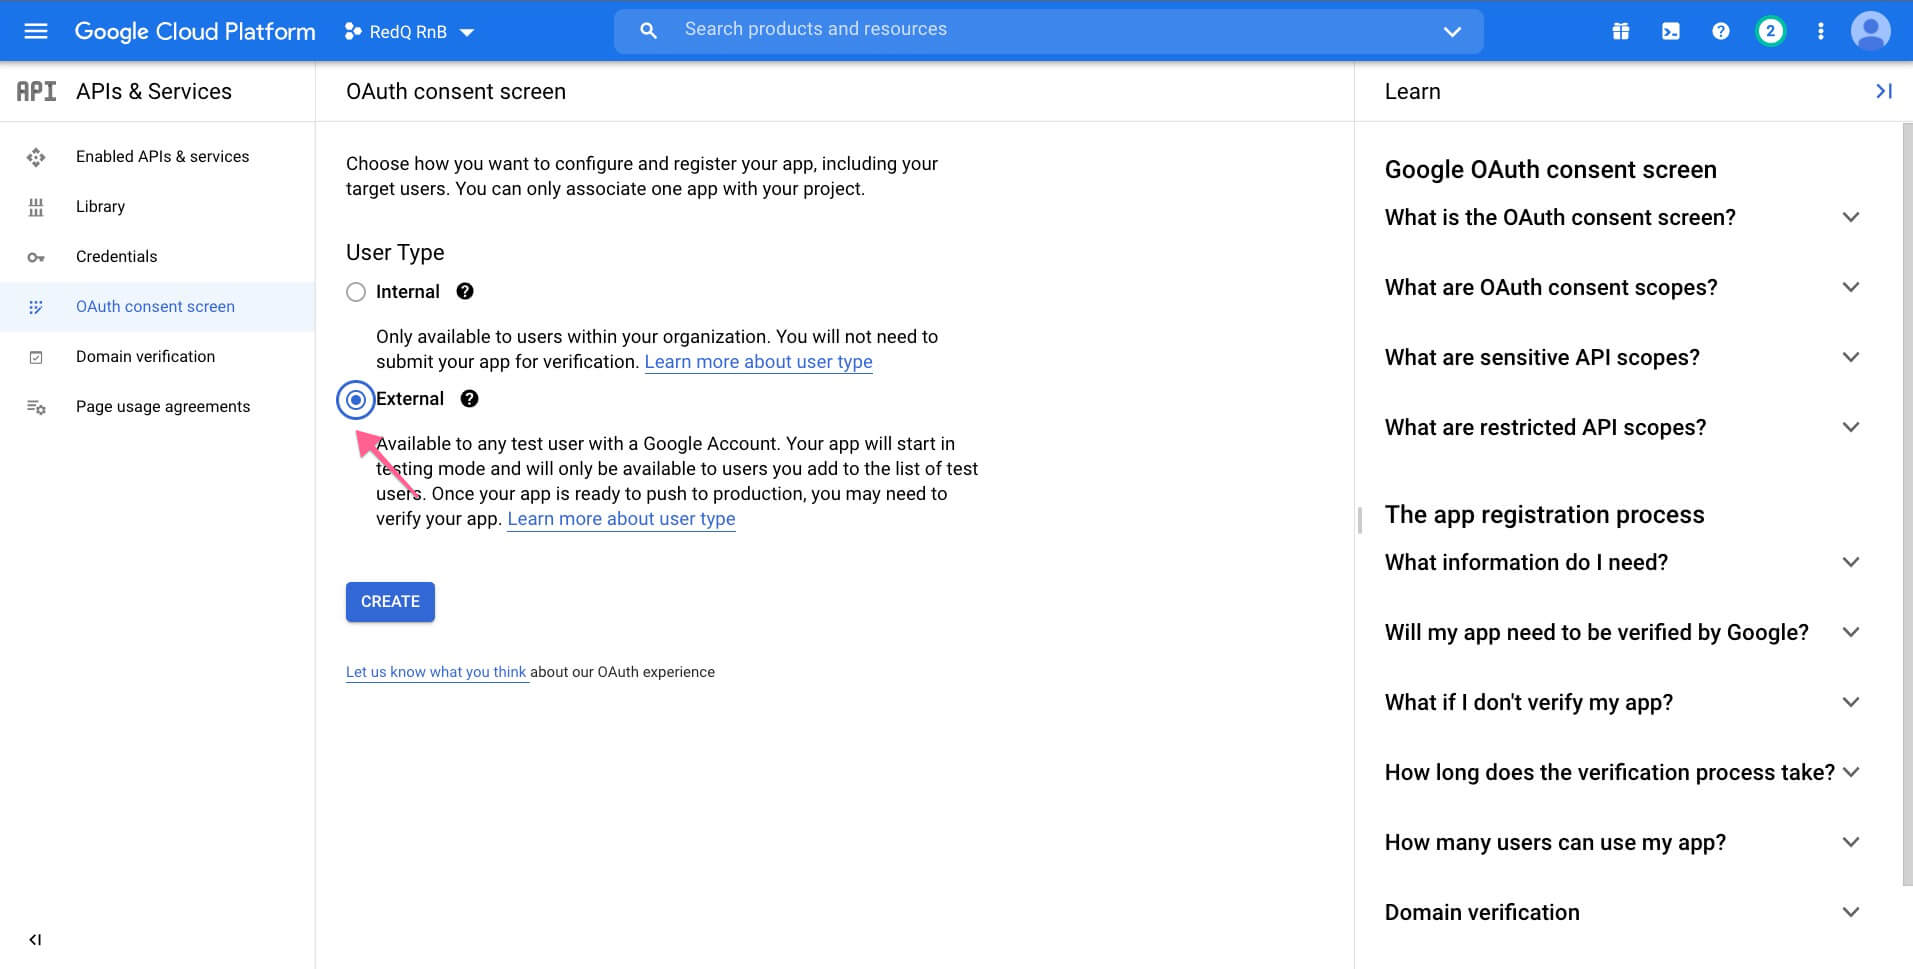
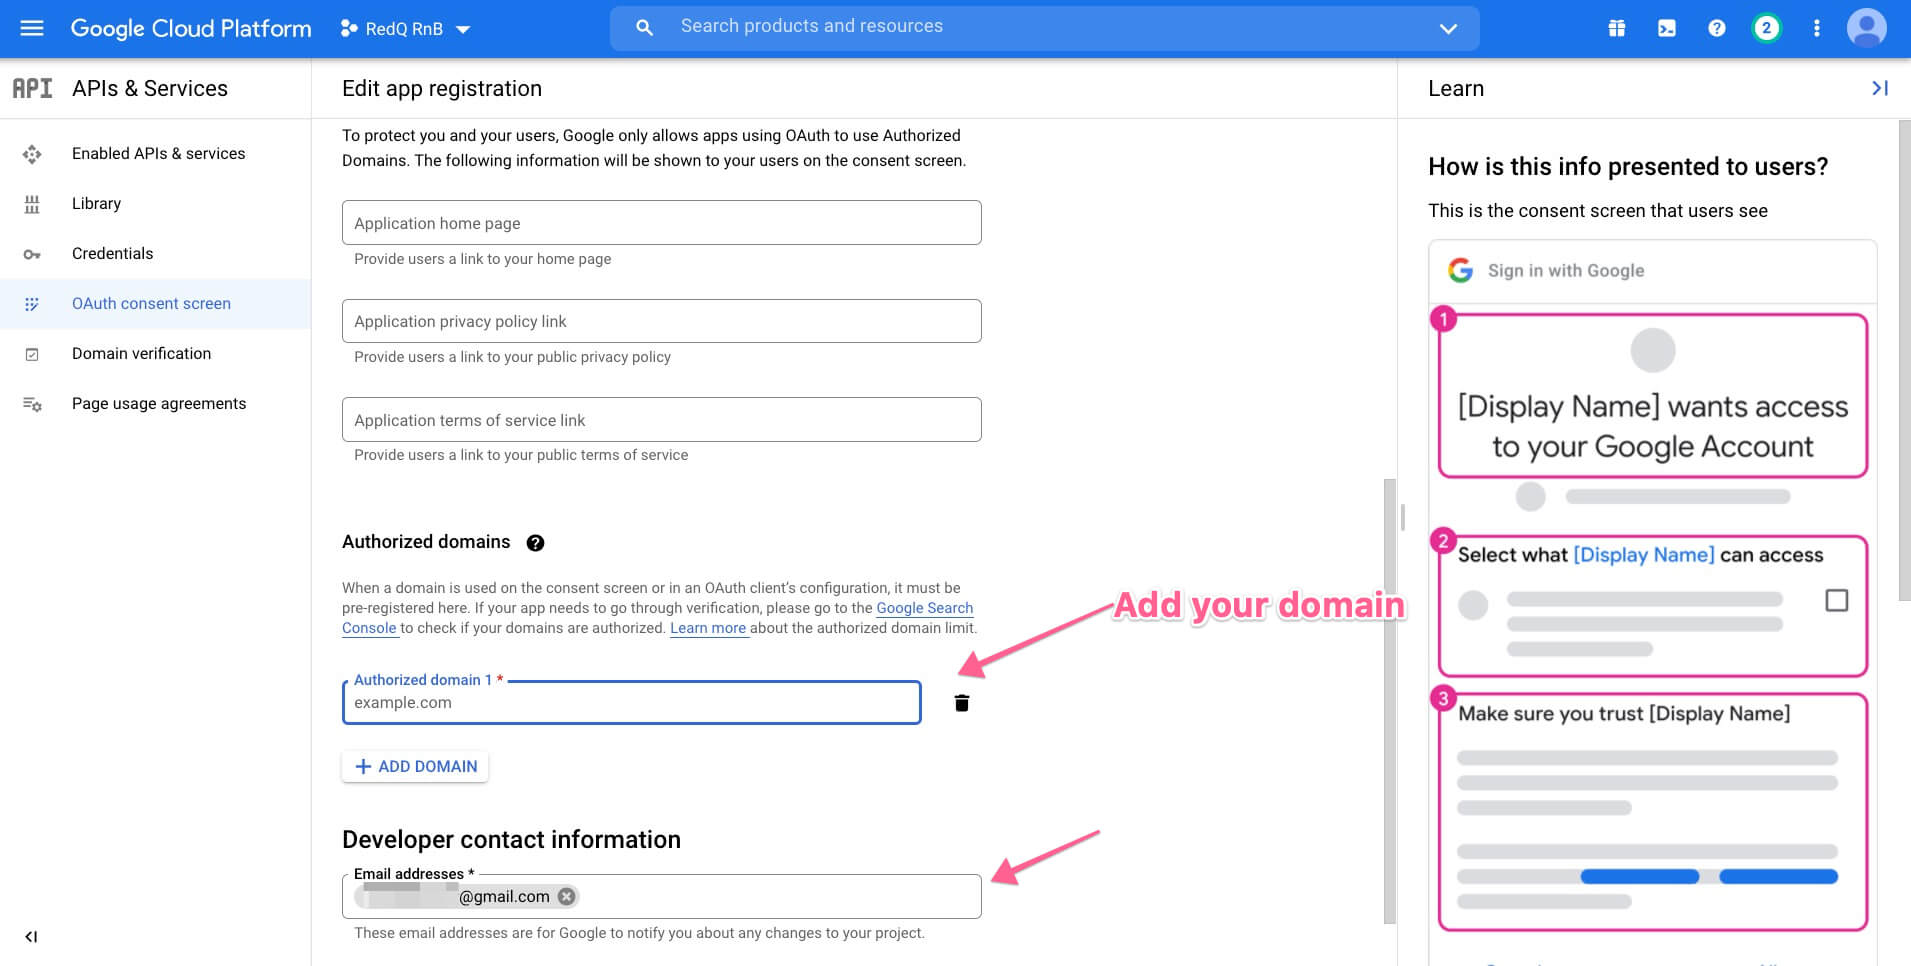
Fill out the form with your website information
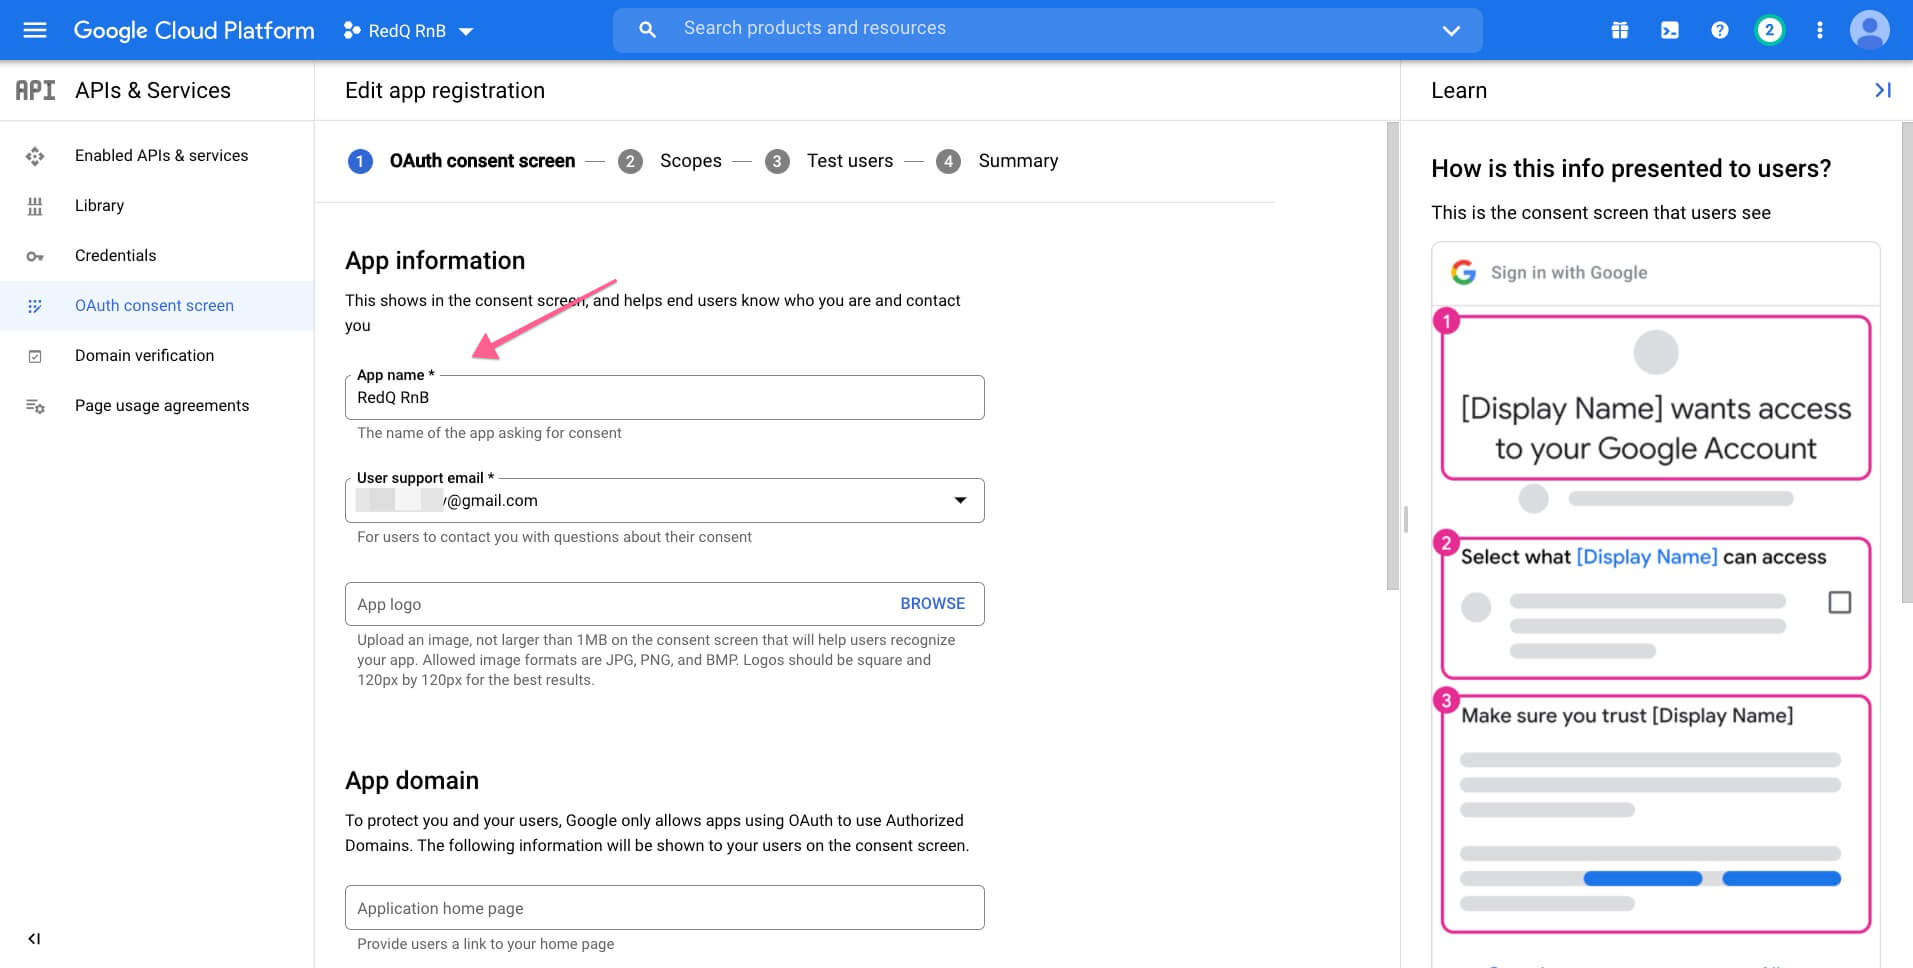
Then again, click on oAuth
It'll redirect to you an application form, where you've to fill the form with your website credentials.
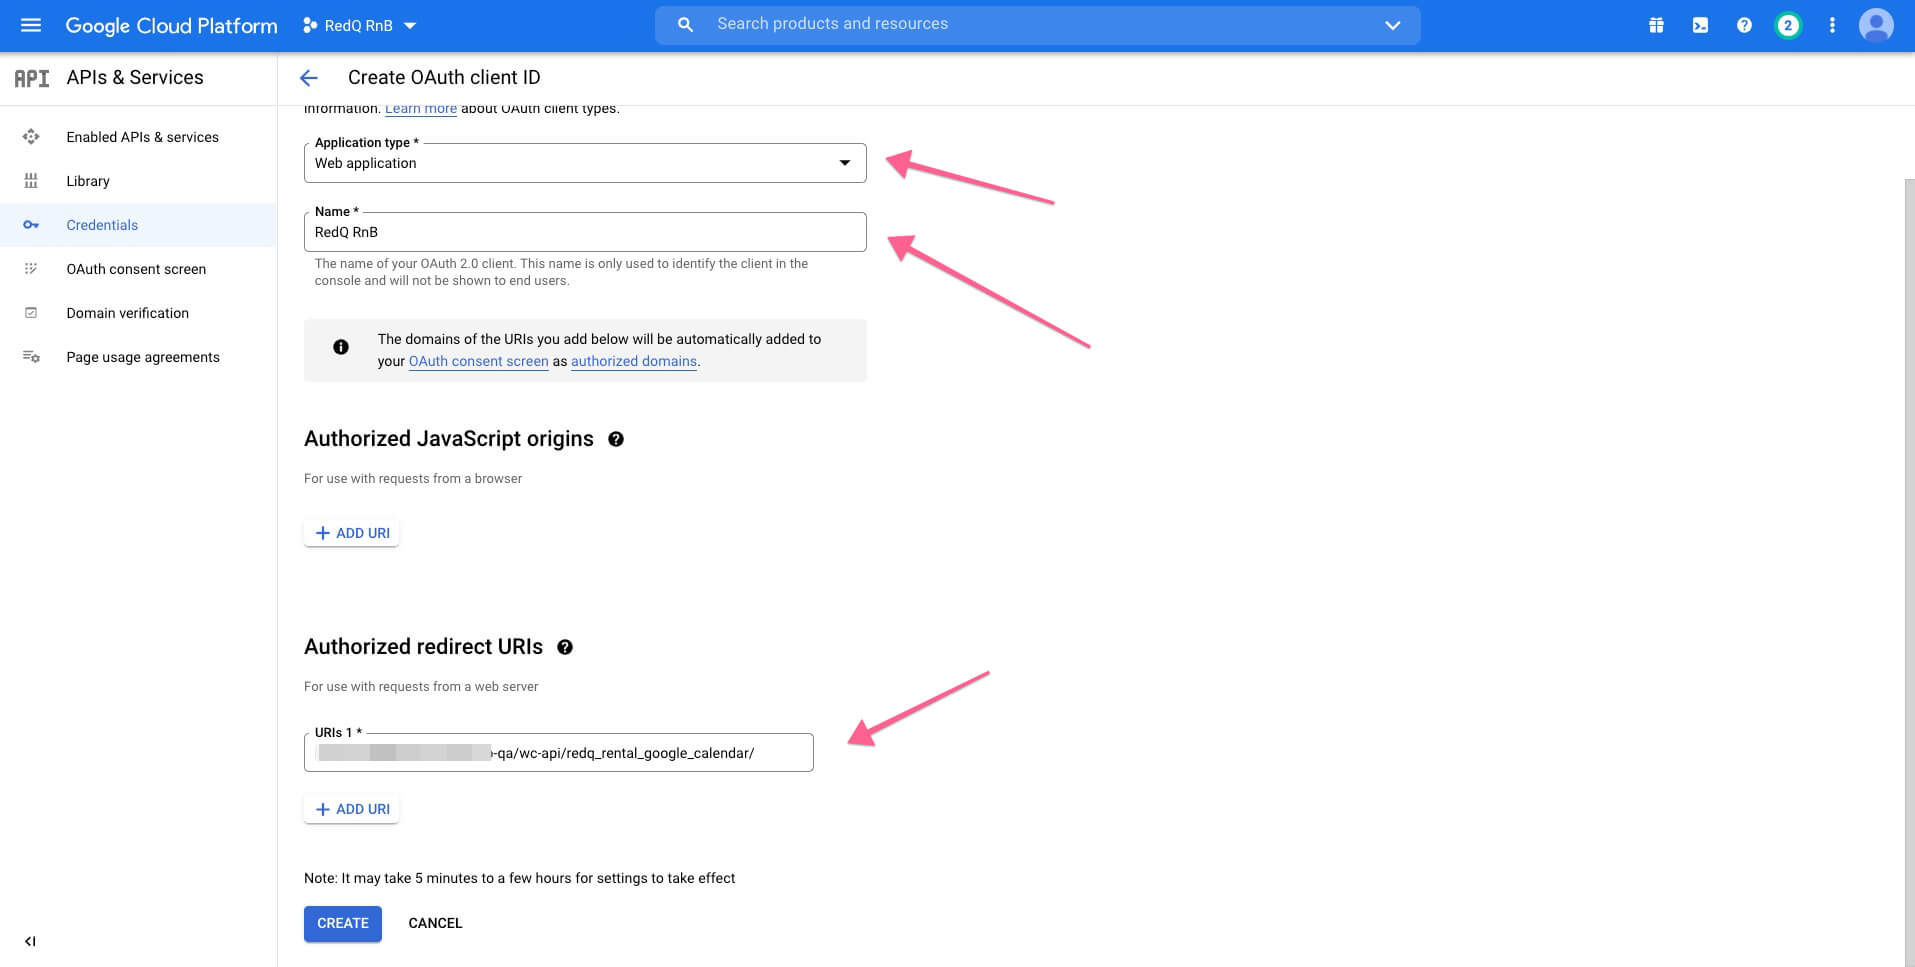
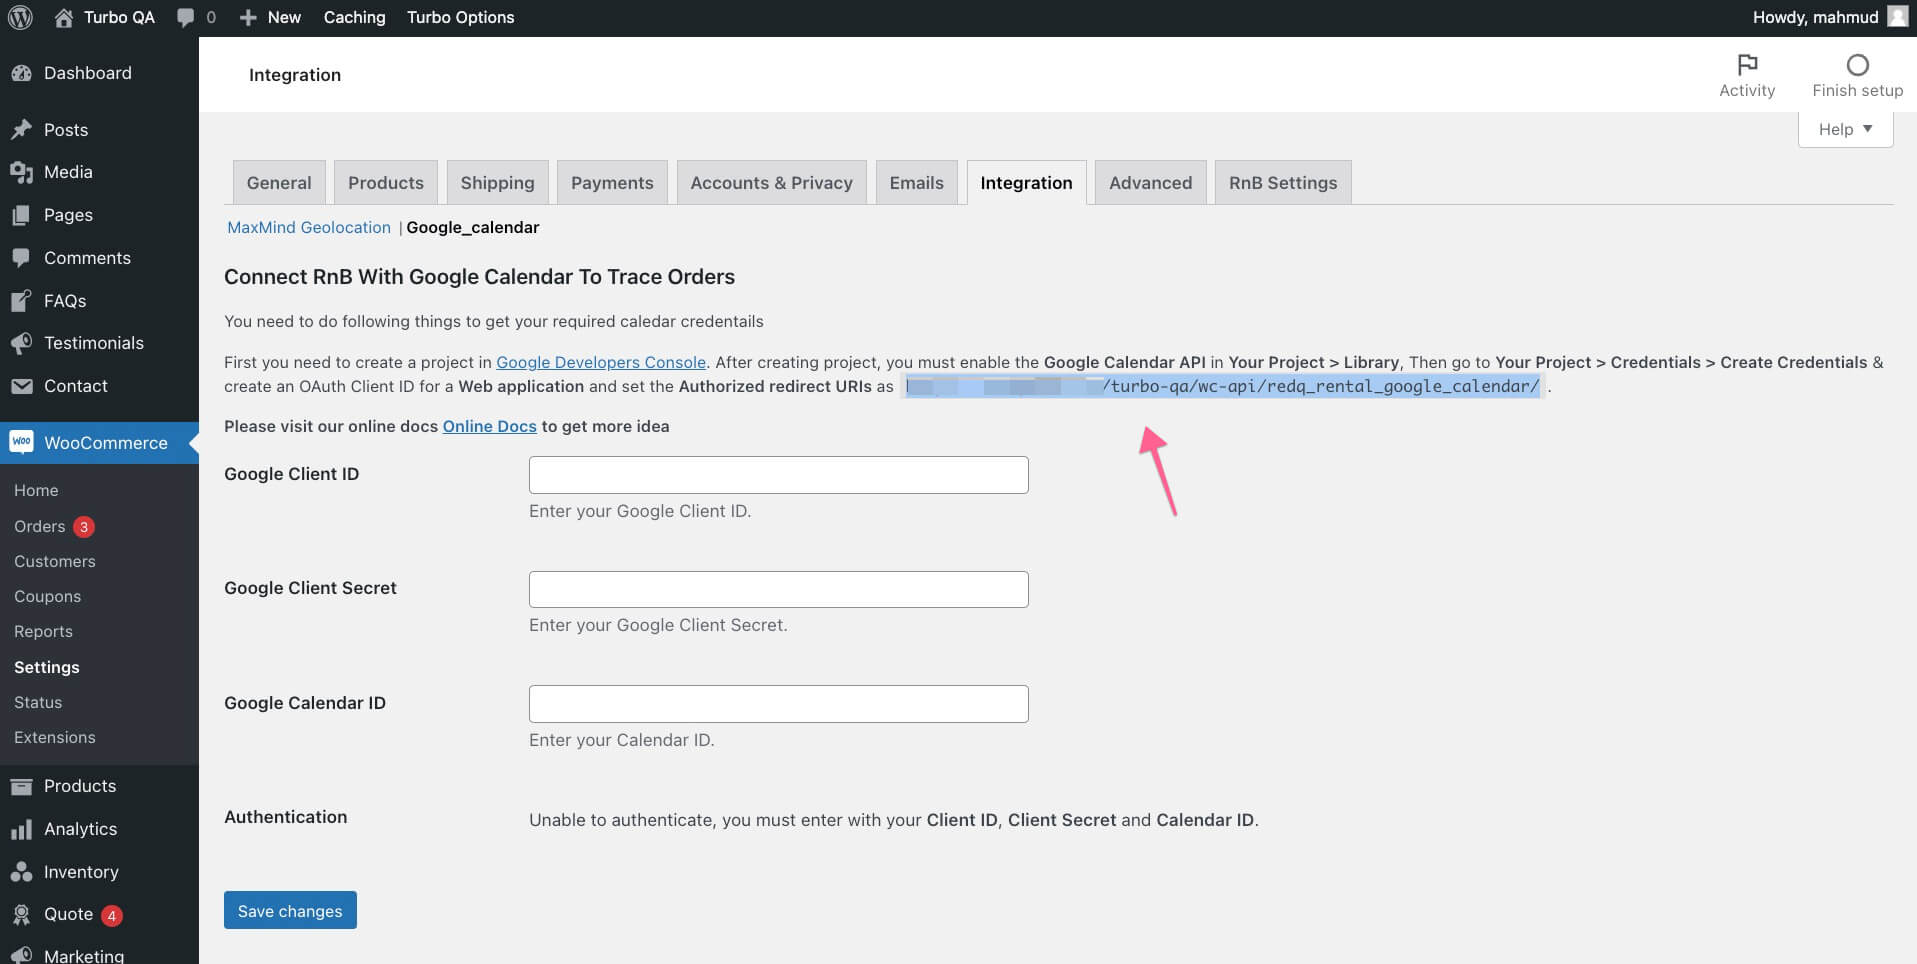
You'll get the redirect URL from your website wp-admin -> Settings -> Integration -> Google Calendar
After filling out the form it'll provide you a prompt for credentials,
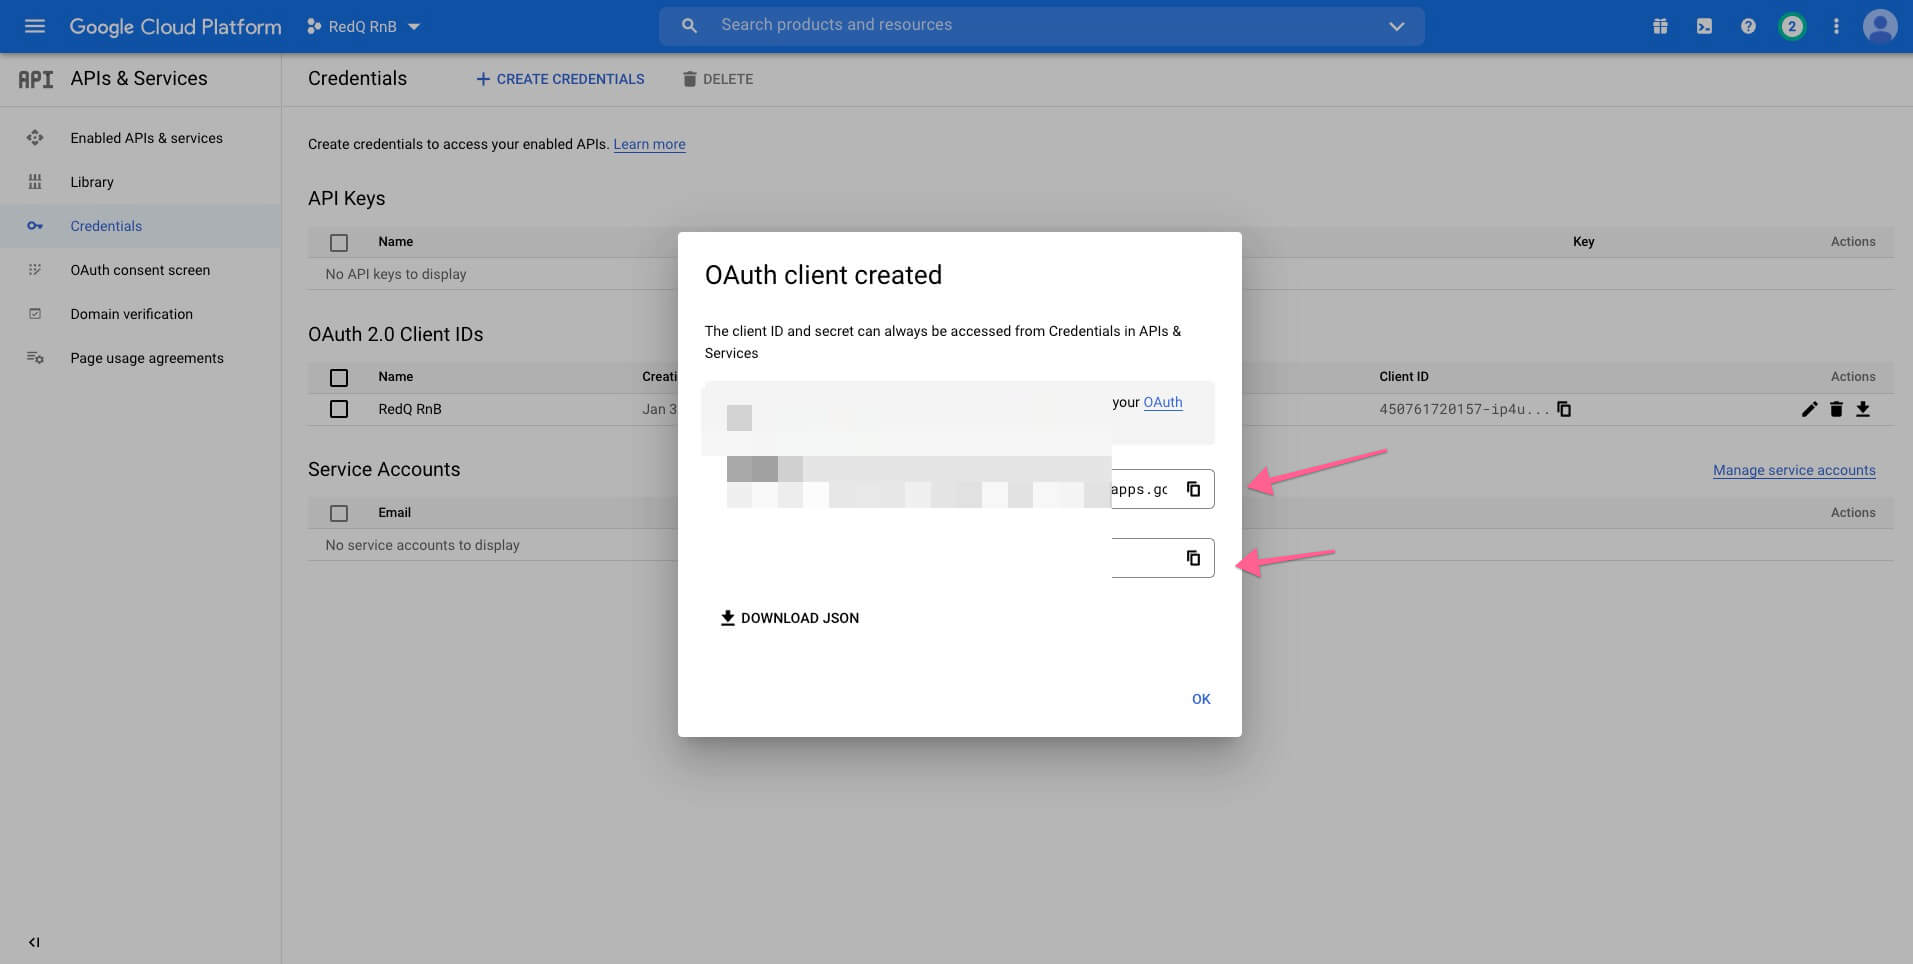
After that, publish the app.

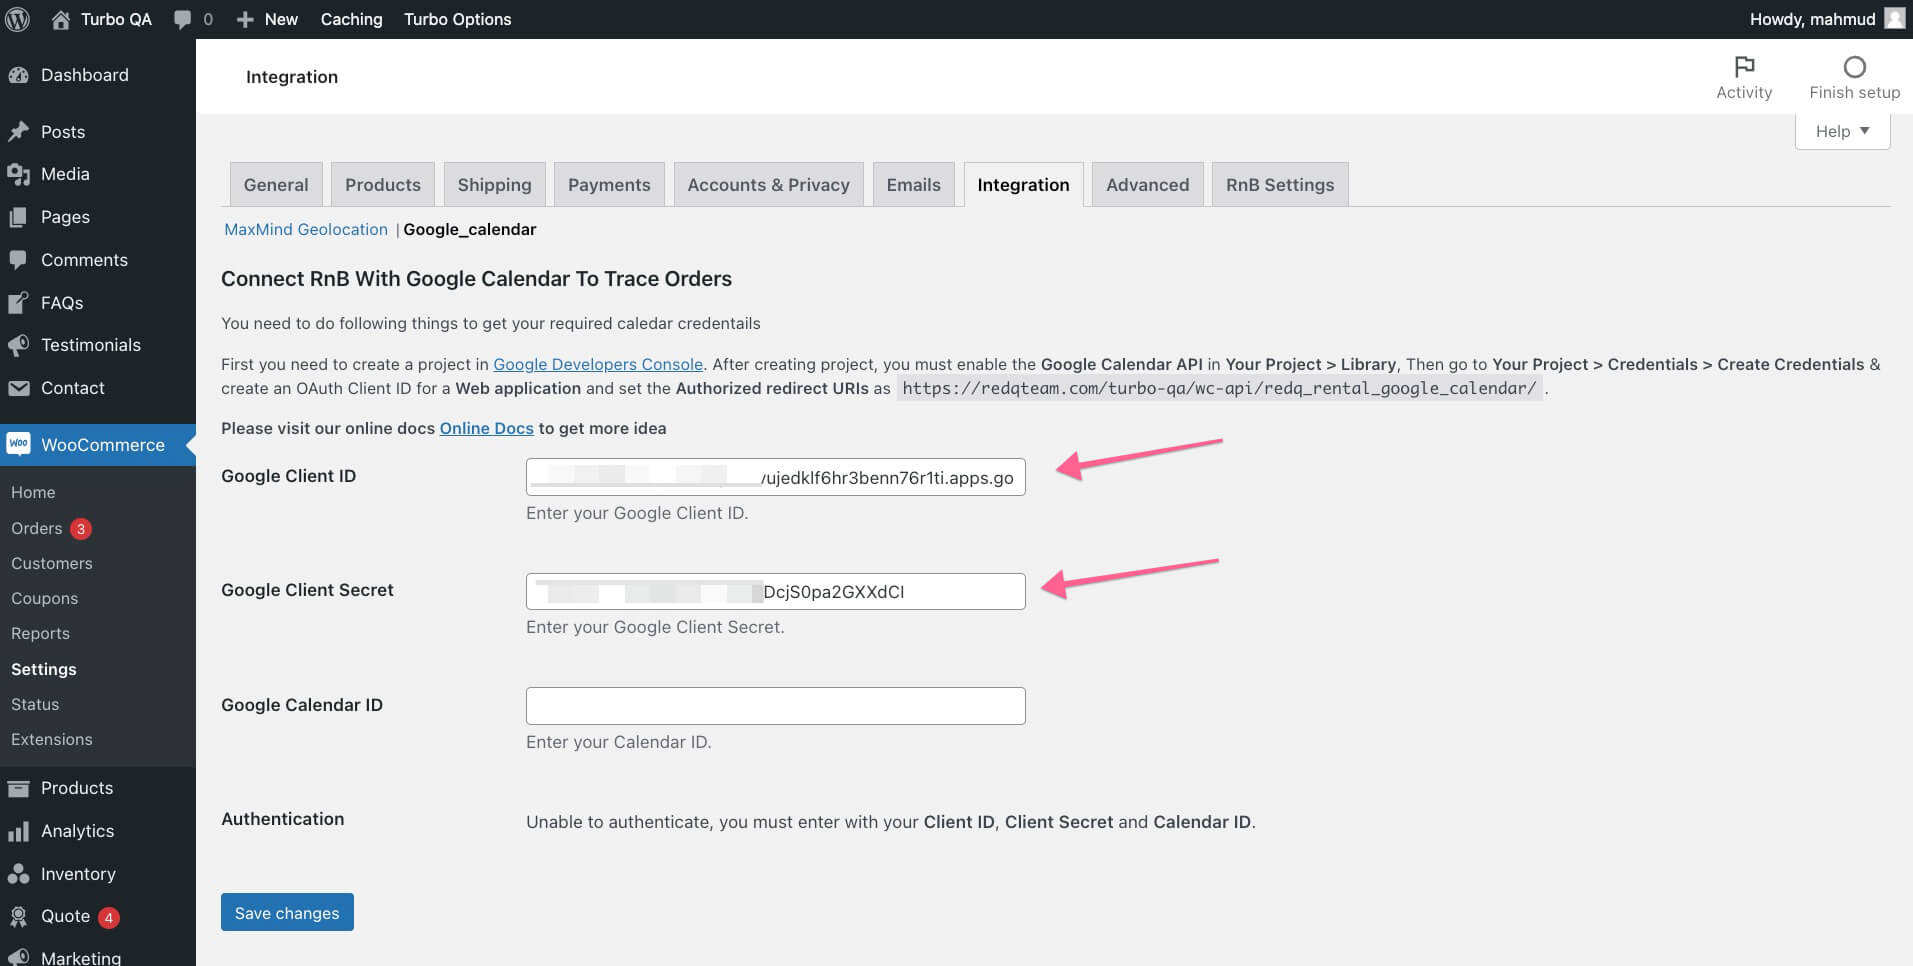
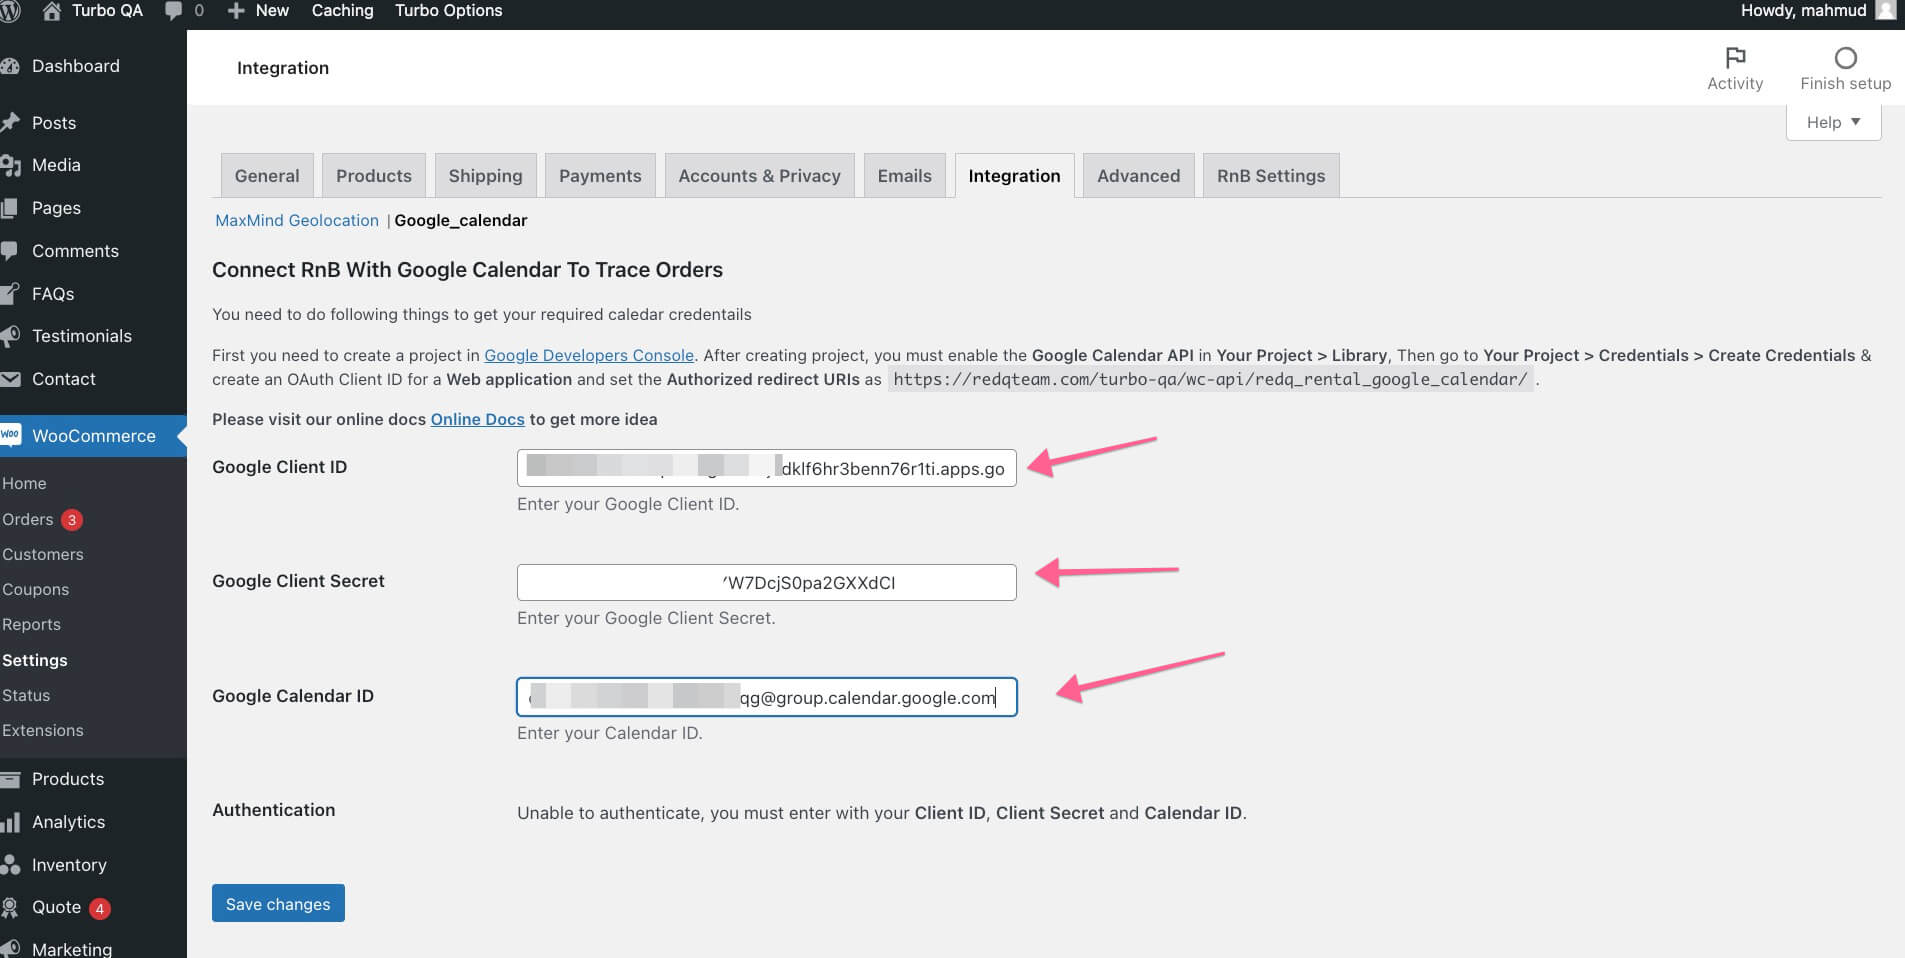
Then fill the credentials on,
- WP-admin -> WooCommerce -> Settings -> Integration -> Google Calendar
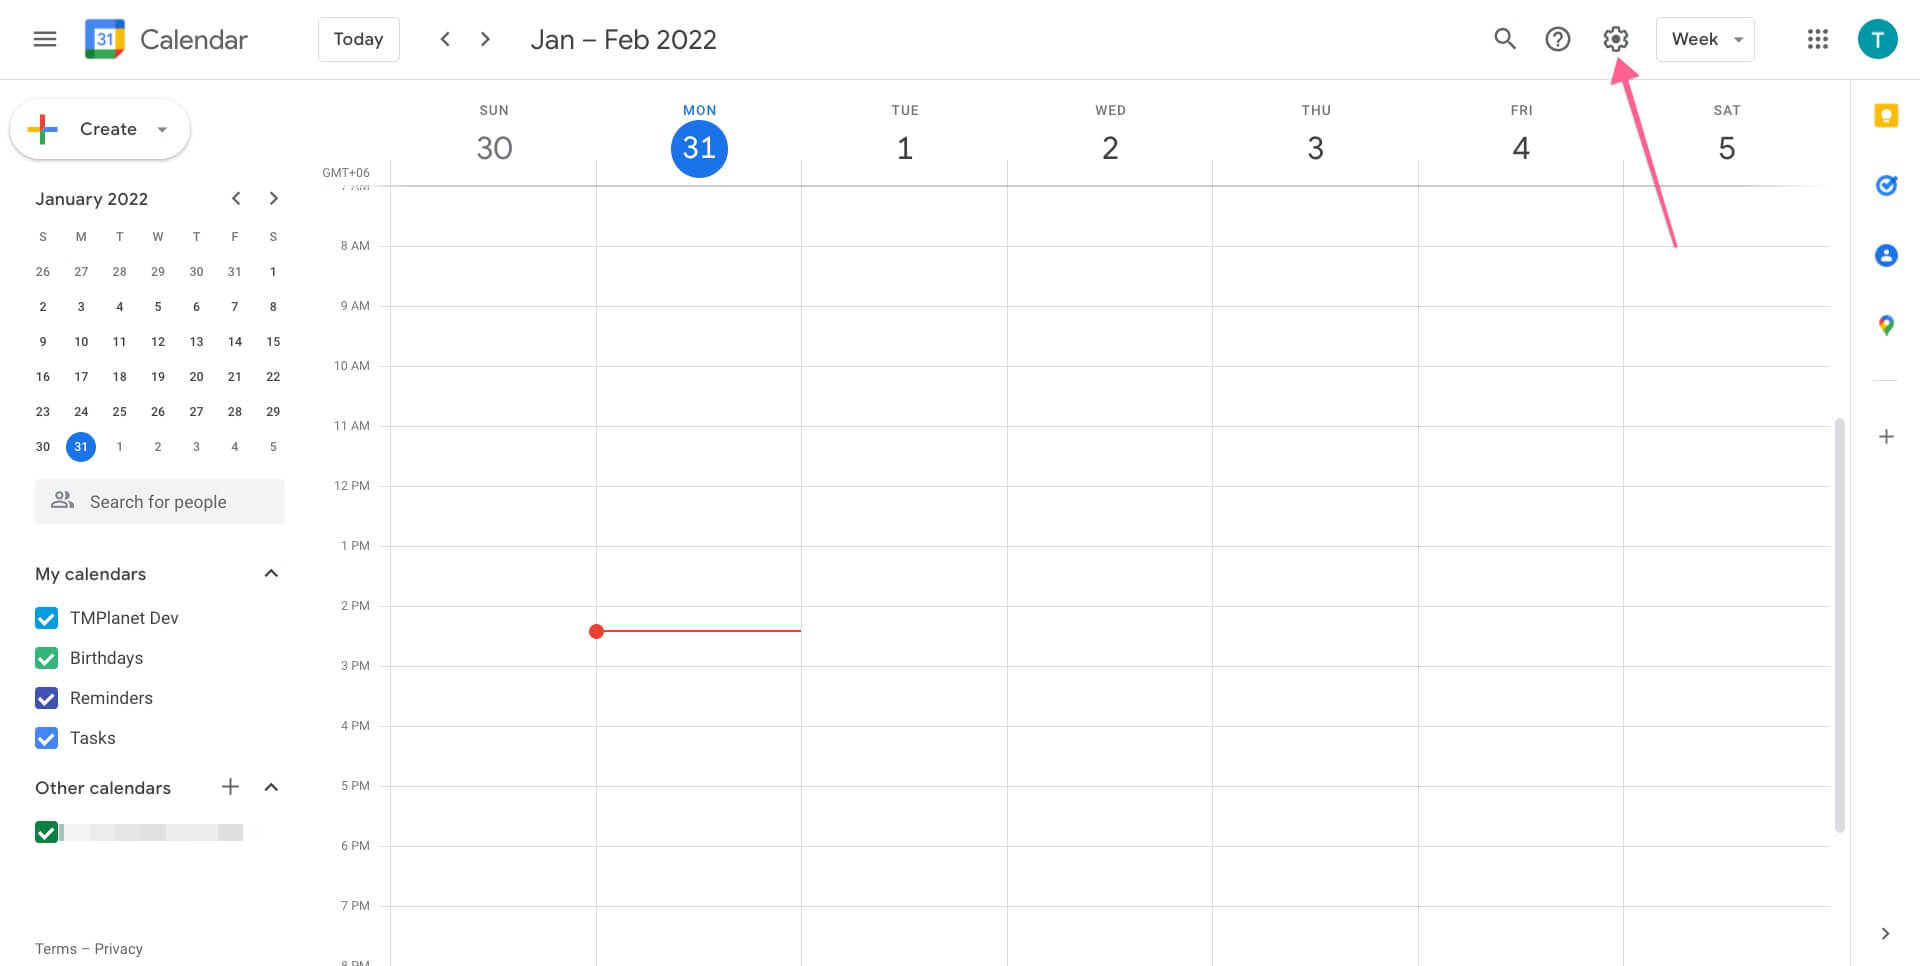
Step 5: Get Calendar ID
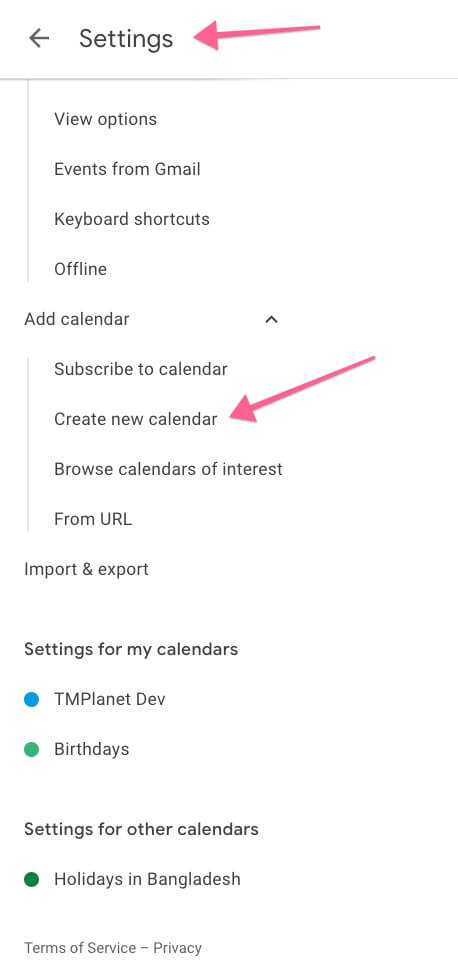
Create the calendar you will use in Google Calendar, if you haven’t already. Then navigate to My Calendars on the left, and select Calendar Settings.
Then Create new calendar

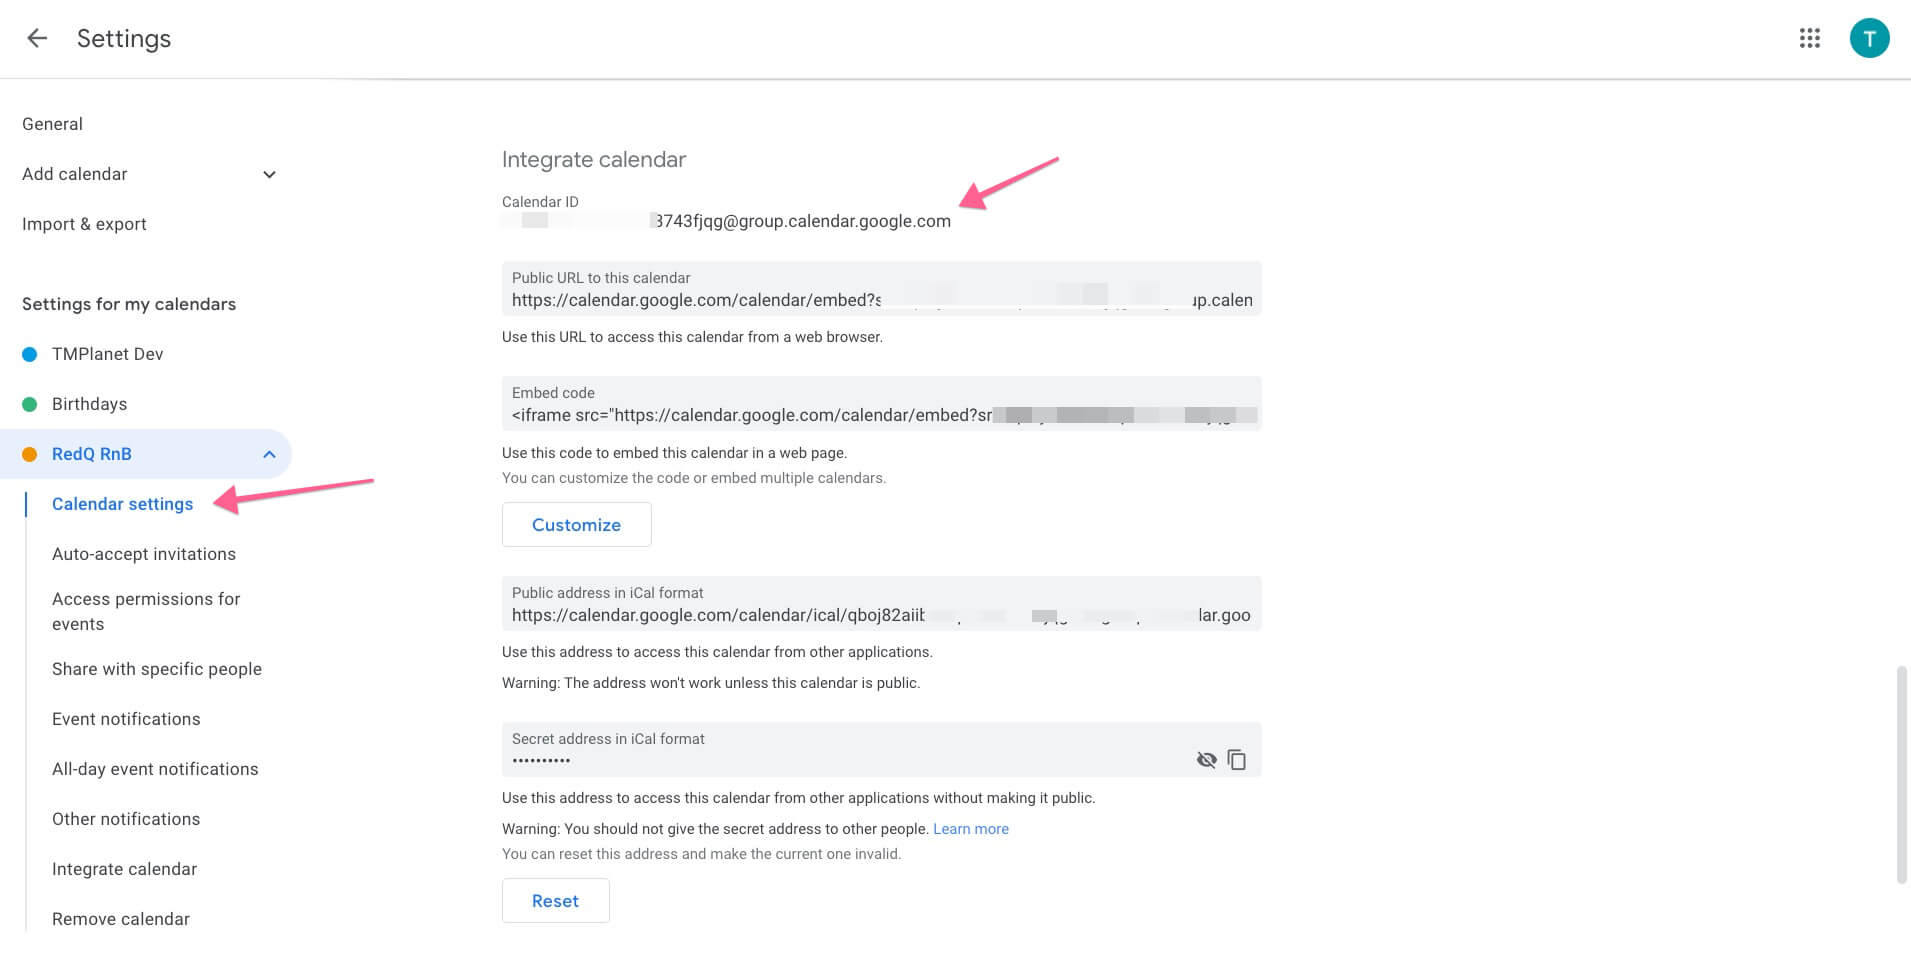
After that, on your created calendar, you'll get an ID
Step 6: Integrate These Credentials into WooCommerce Settings Panel In Your Site
Go to: WooCommerce > Settings > Integrations, and enter the Calendar ID.
Finally, select Save changes
Once you’ve entered your credentials and saved your settings.
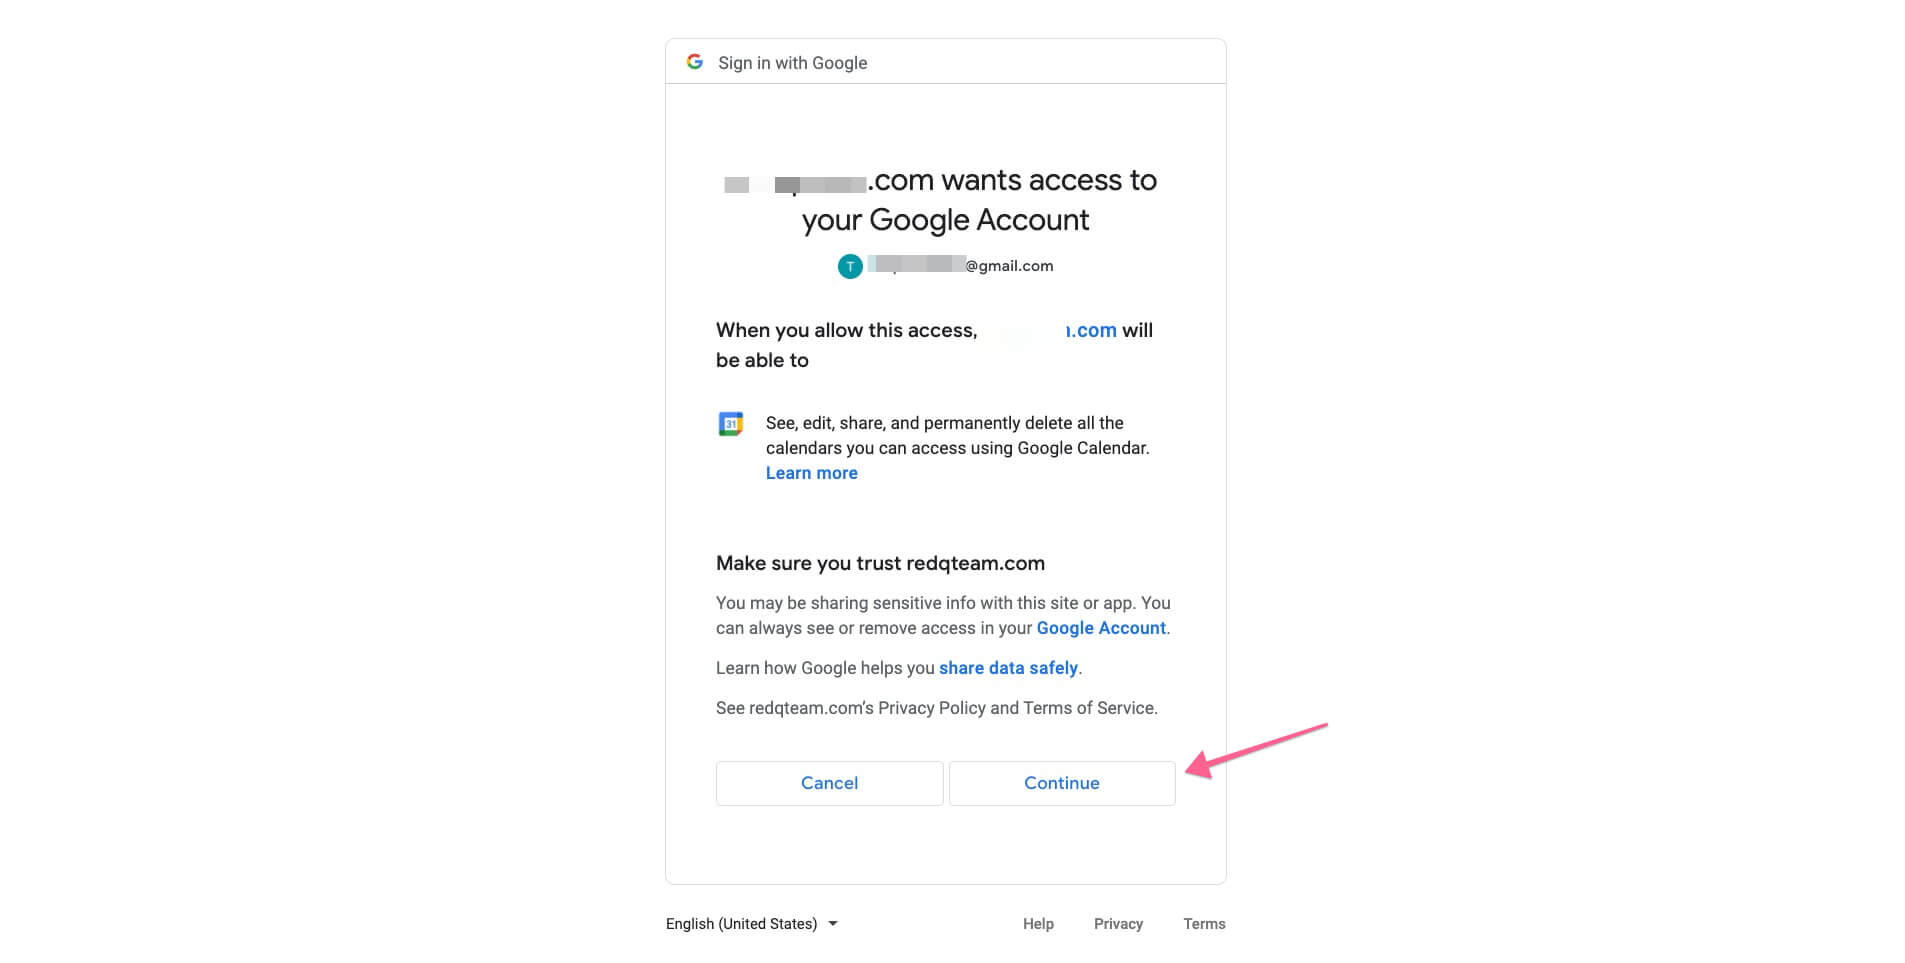
After that, click on Connect With Google and access all the permissions.
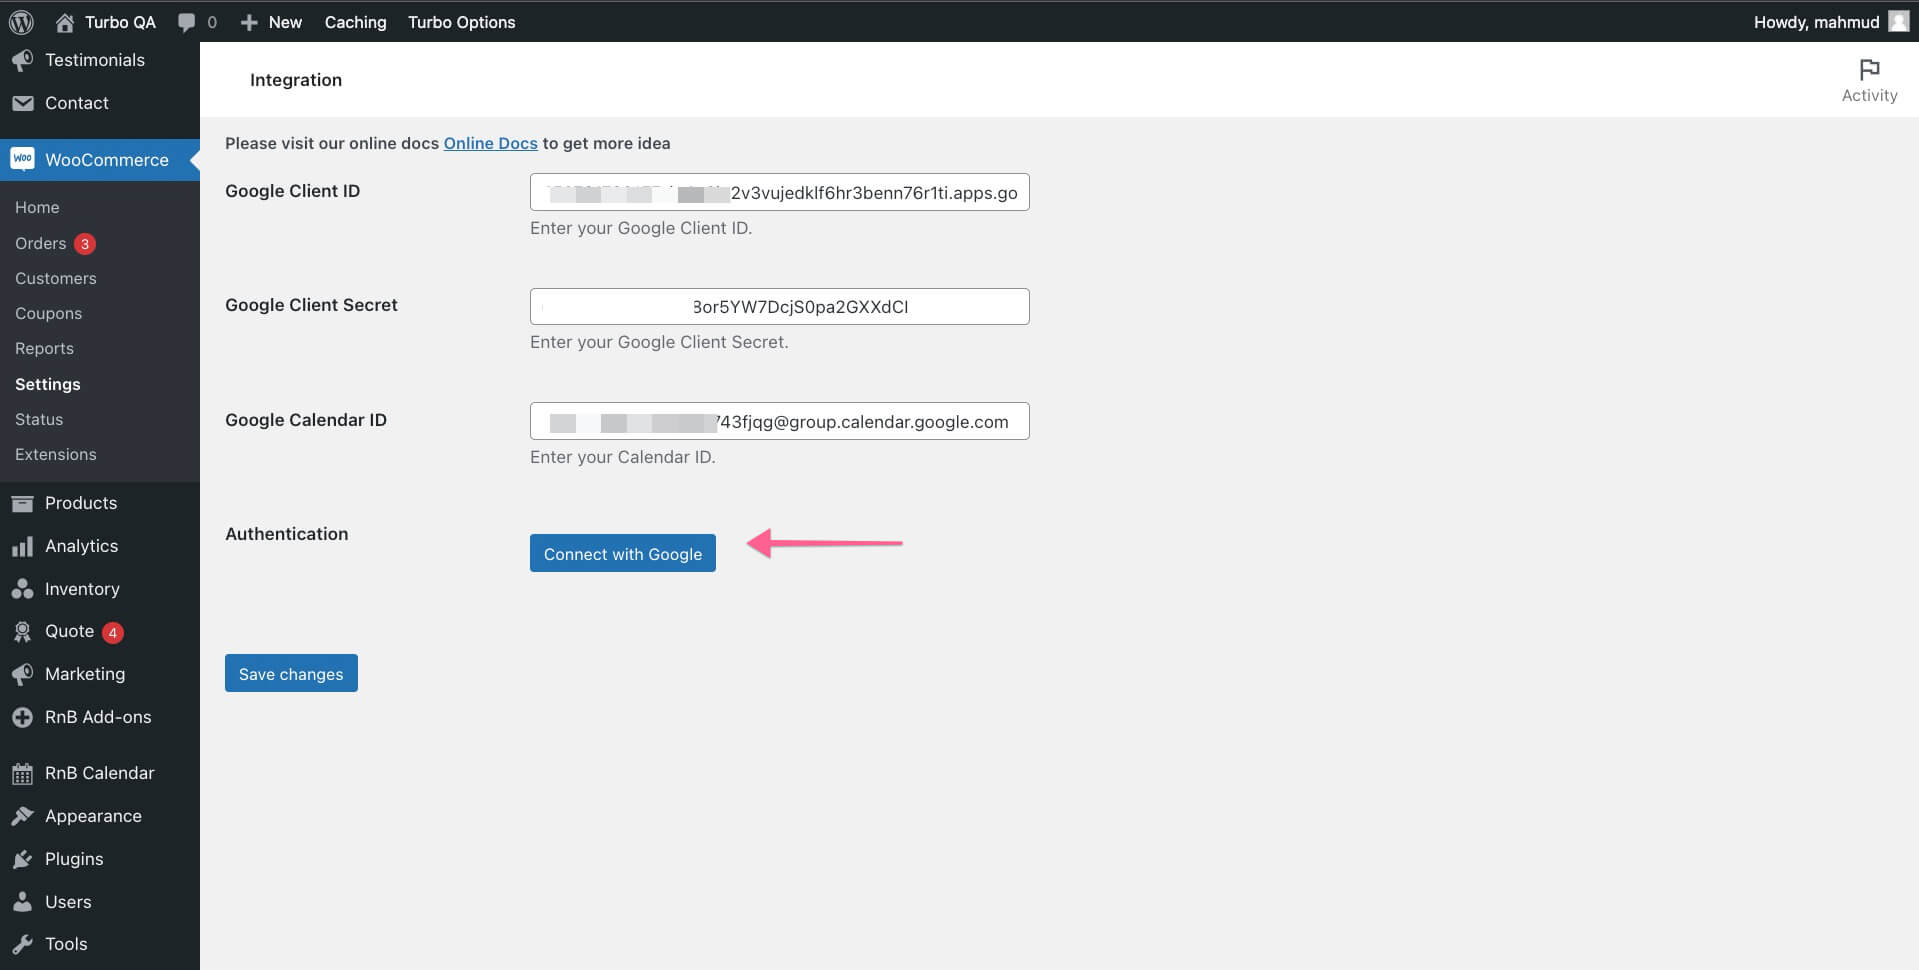
Now check your wooCommerce order into your google calendar.